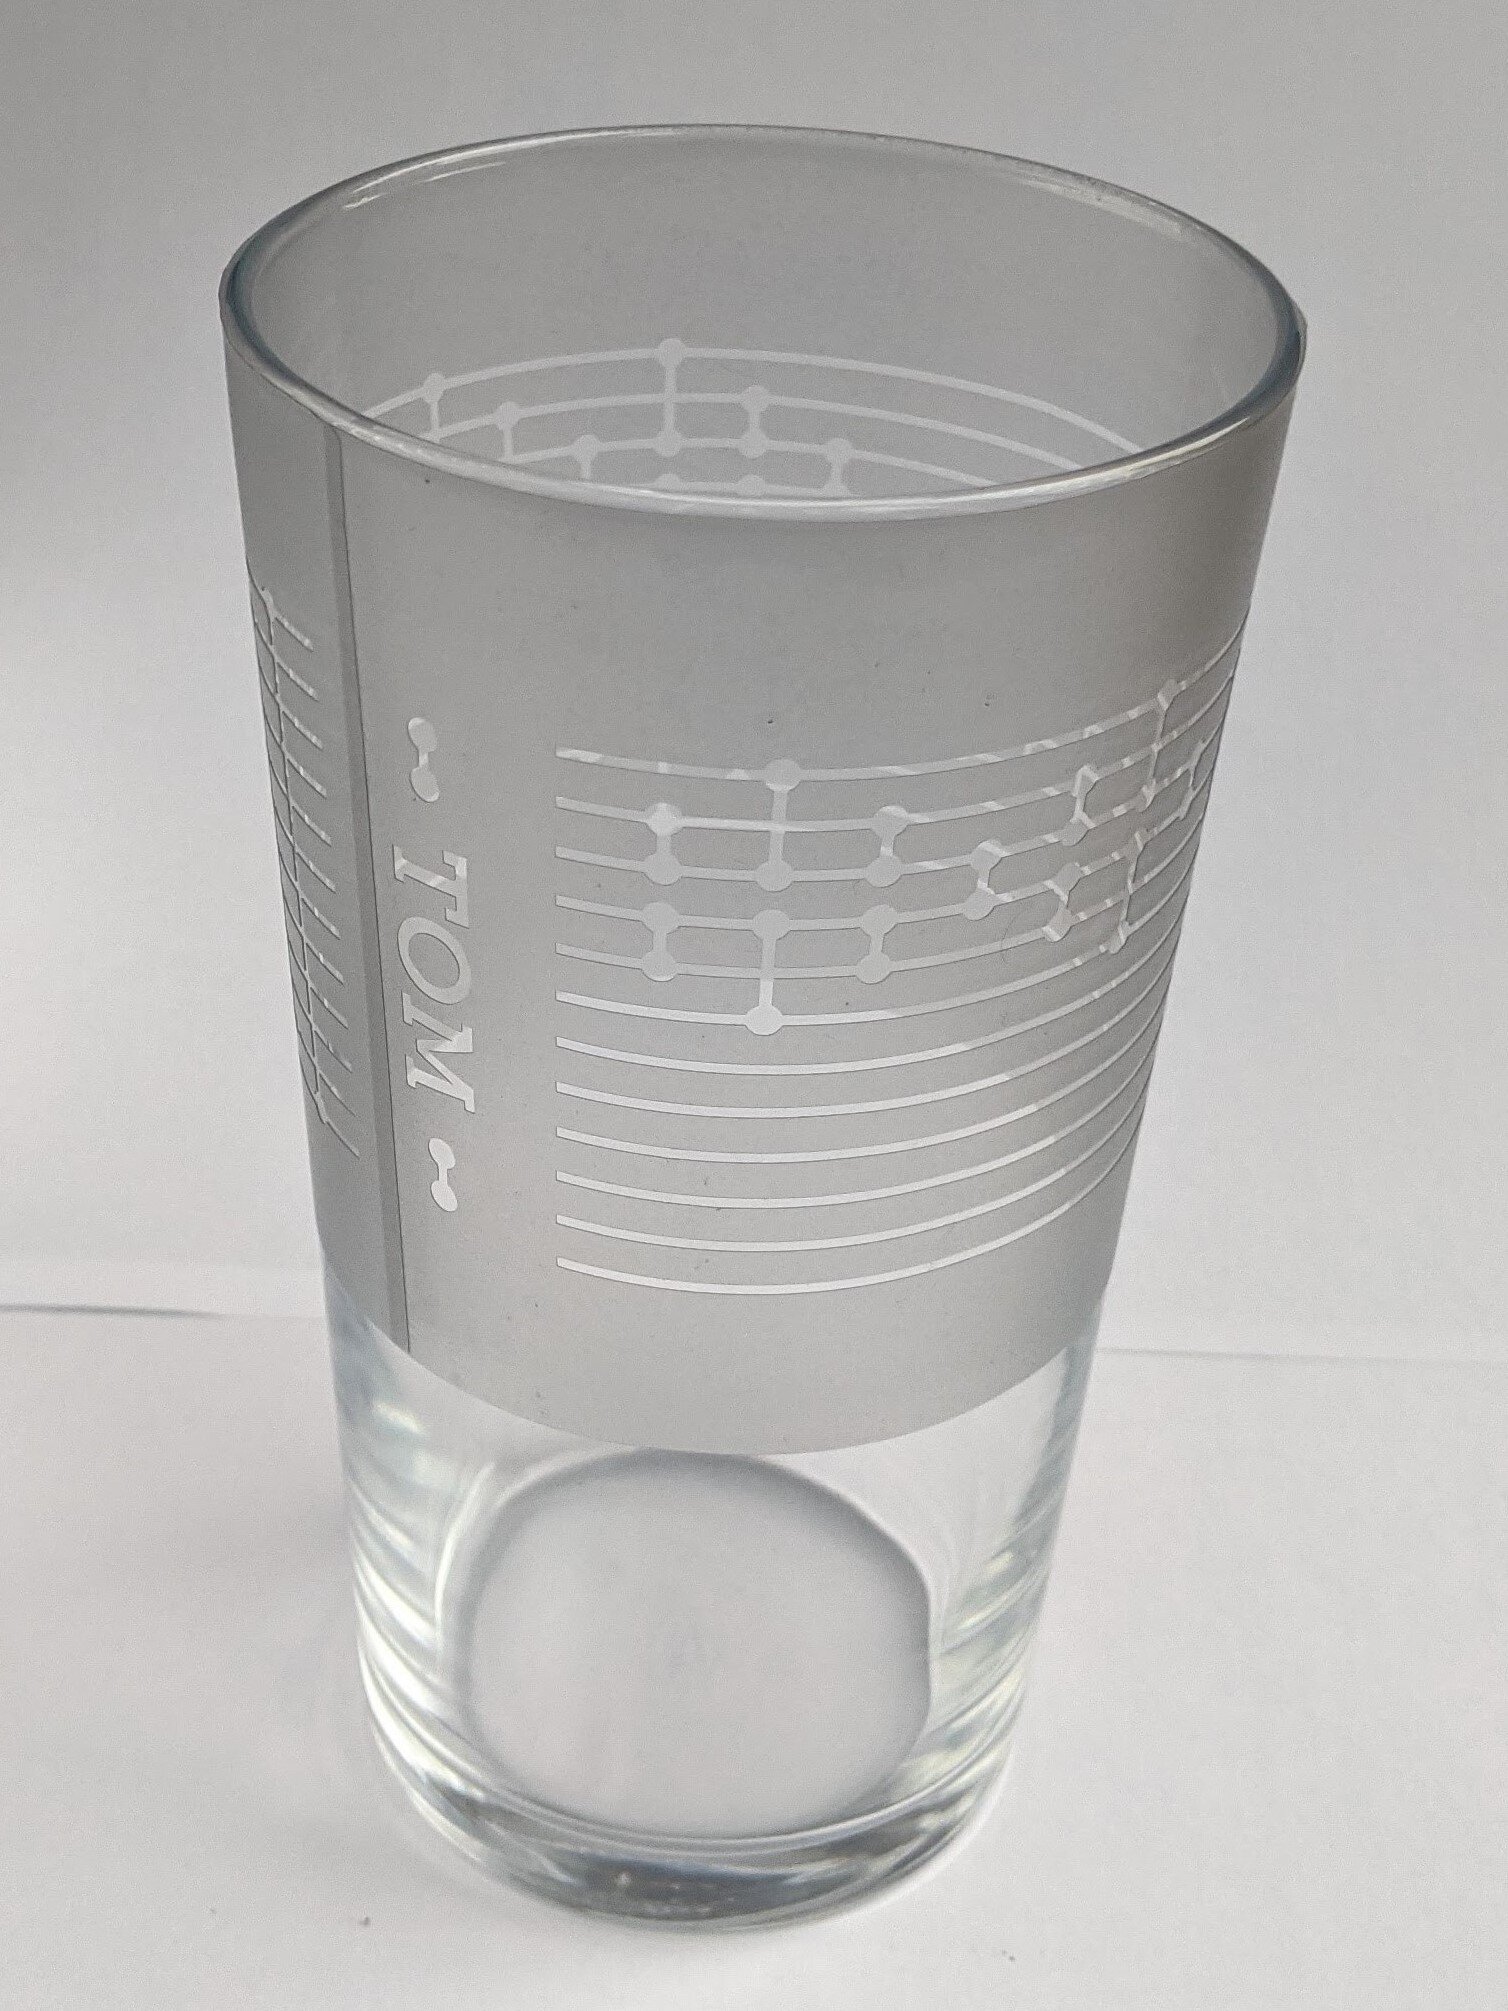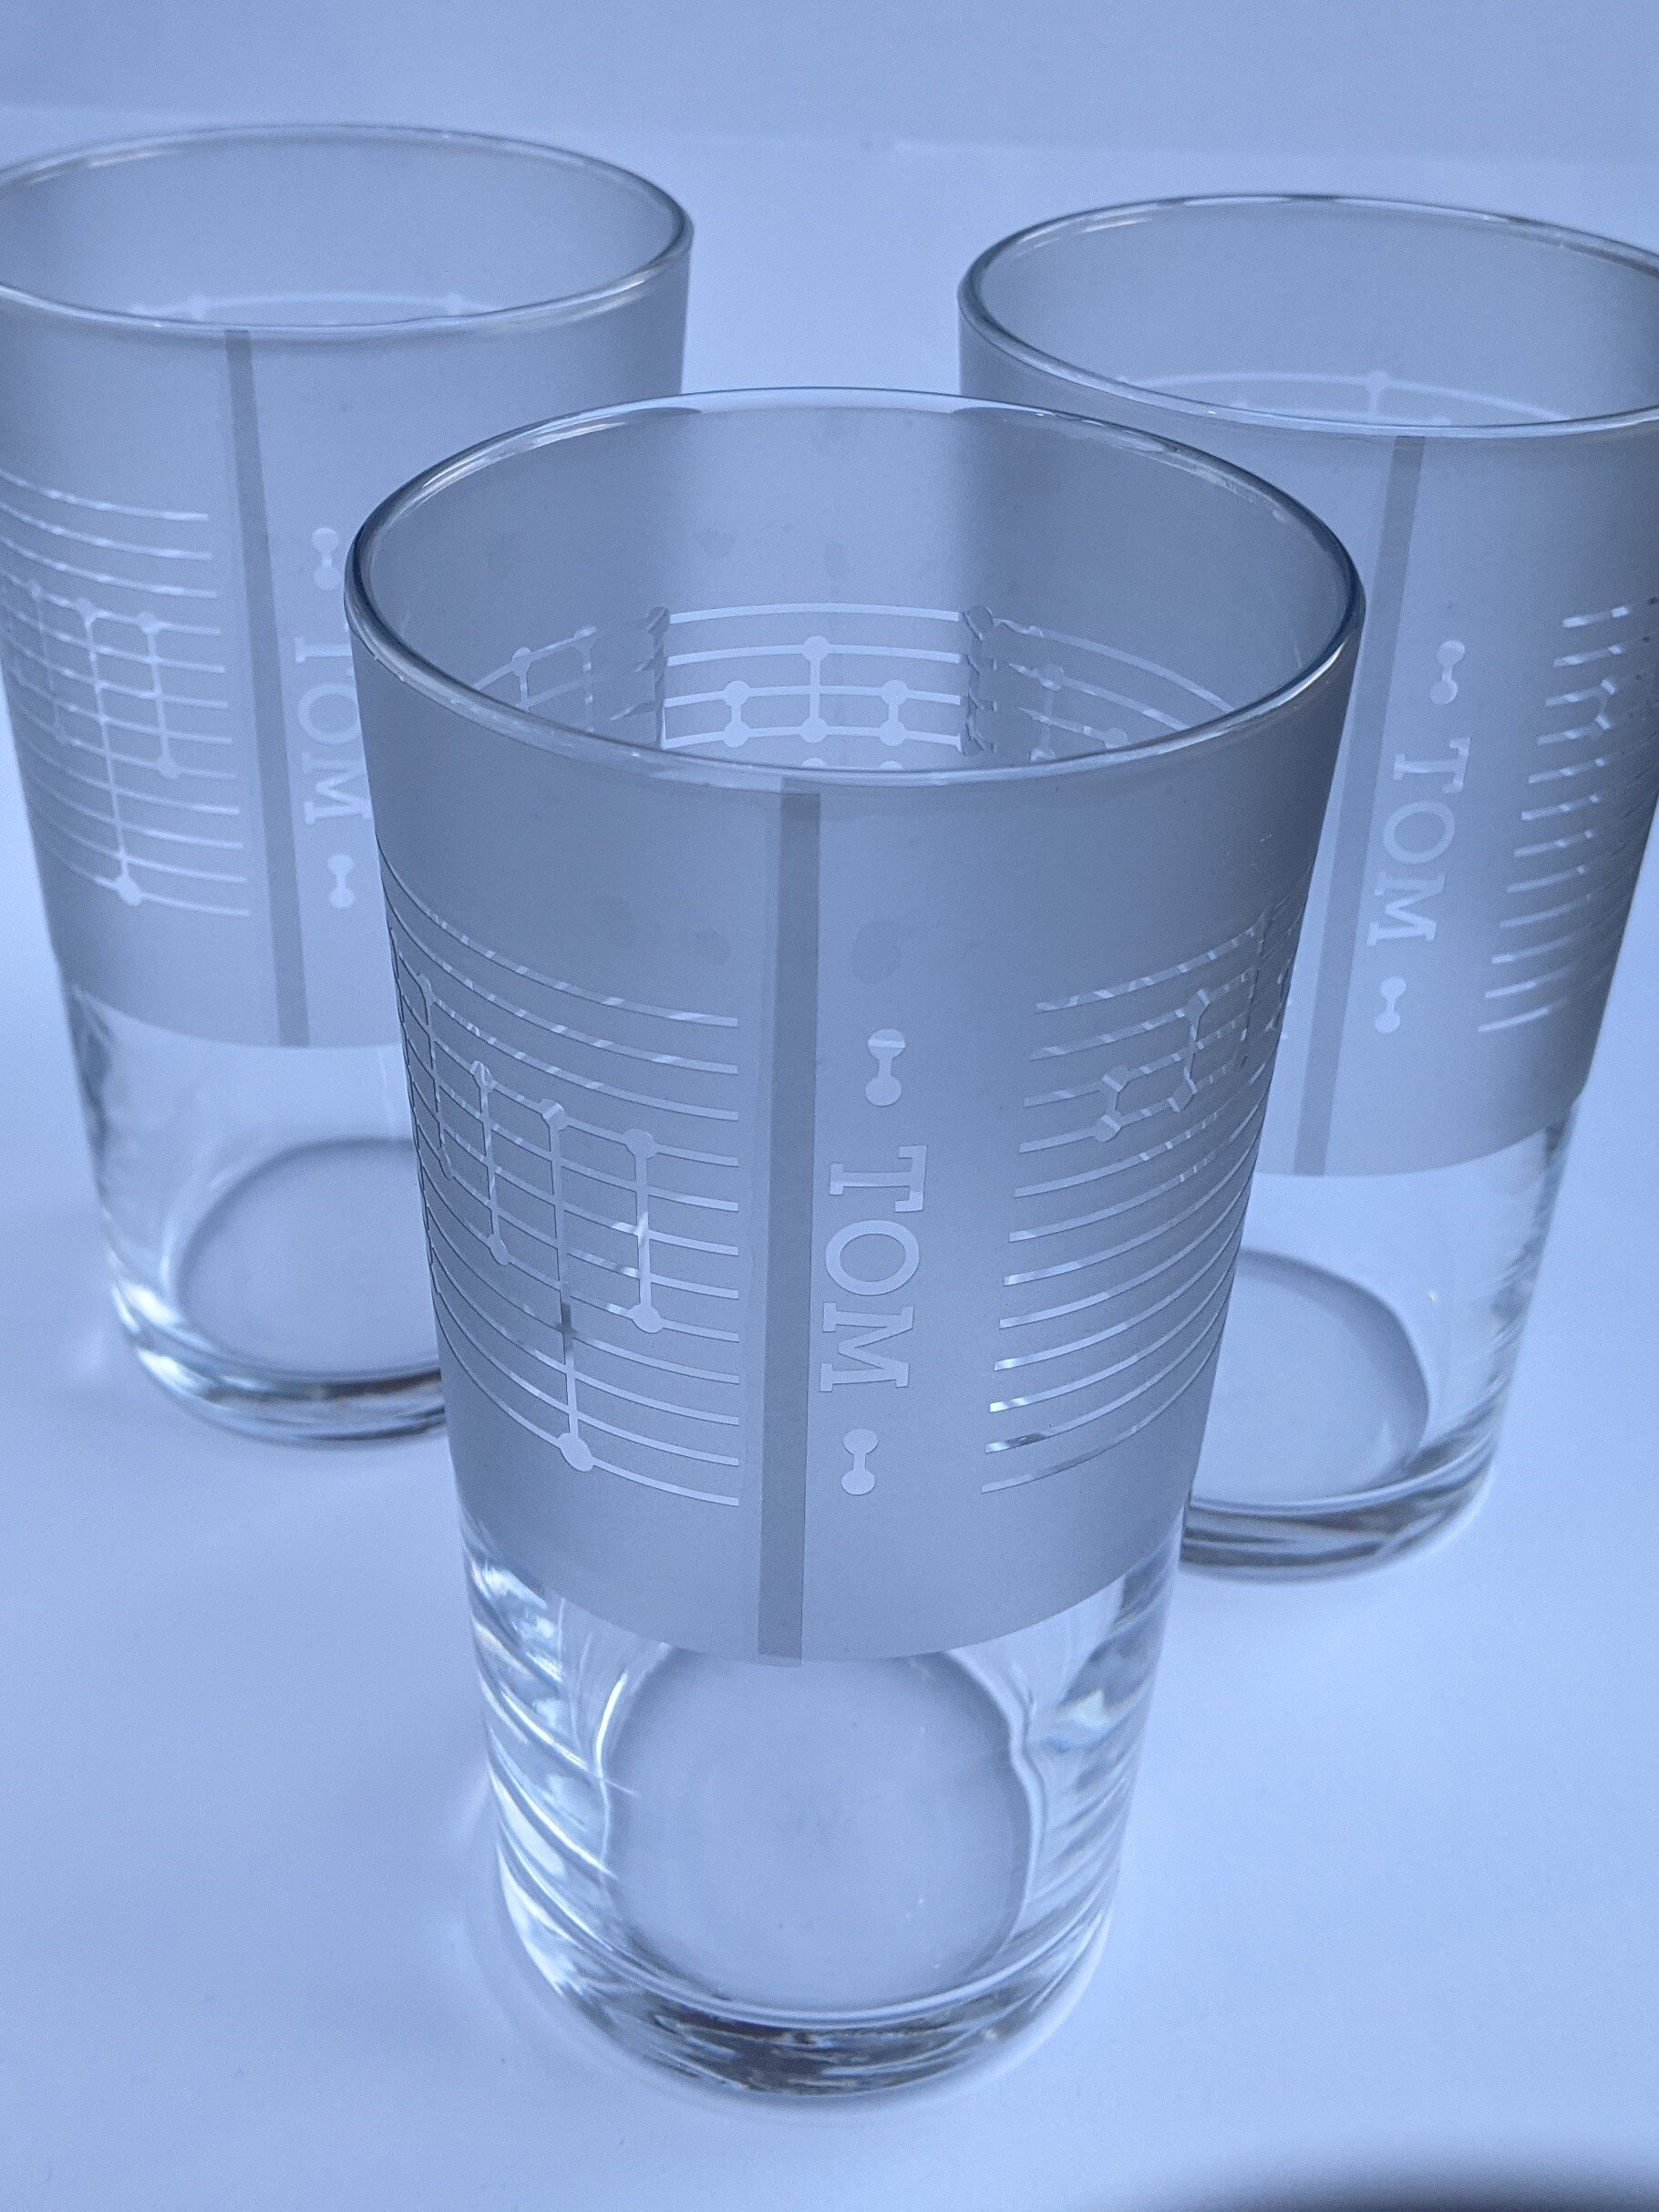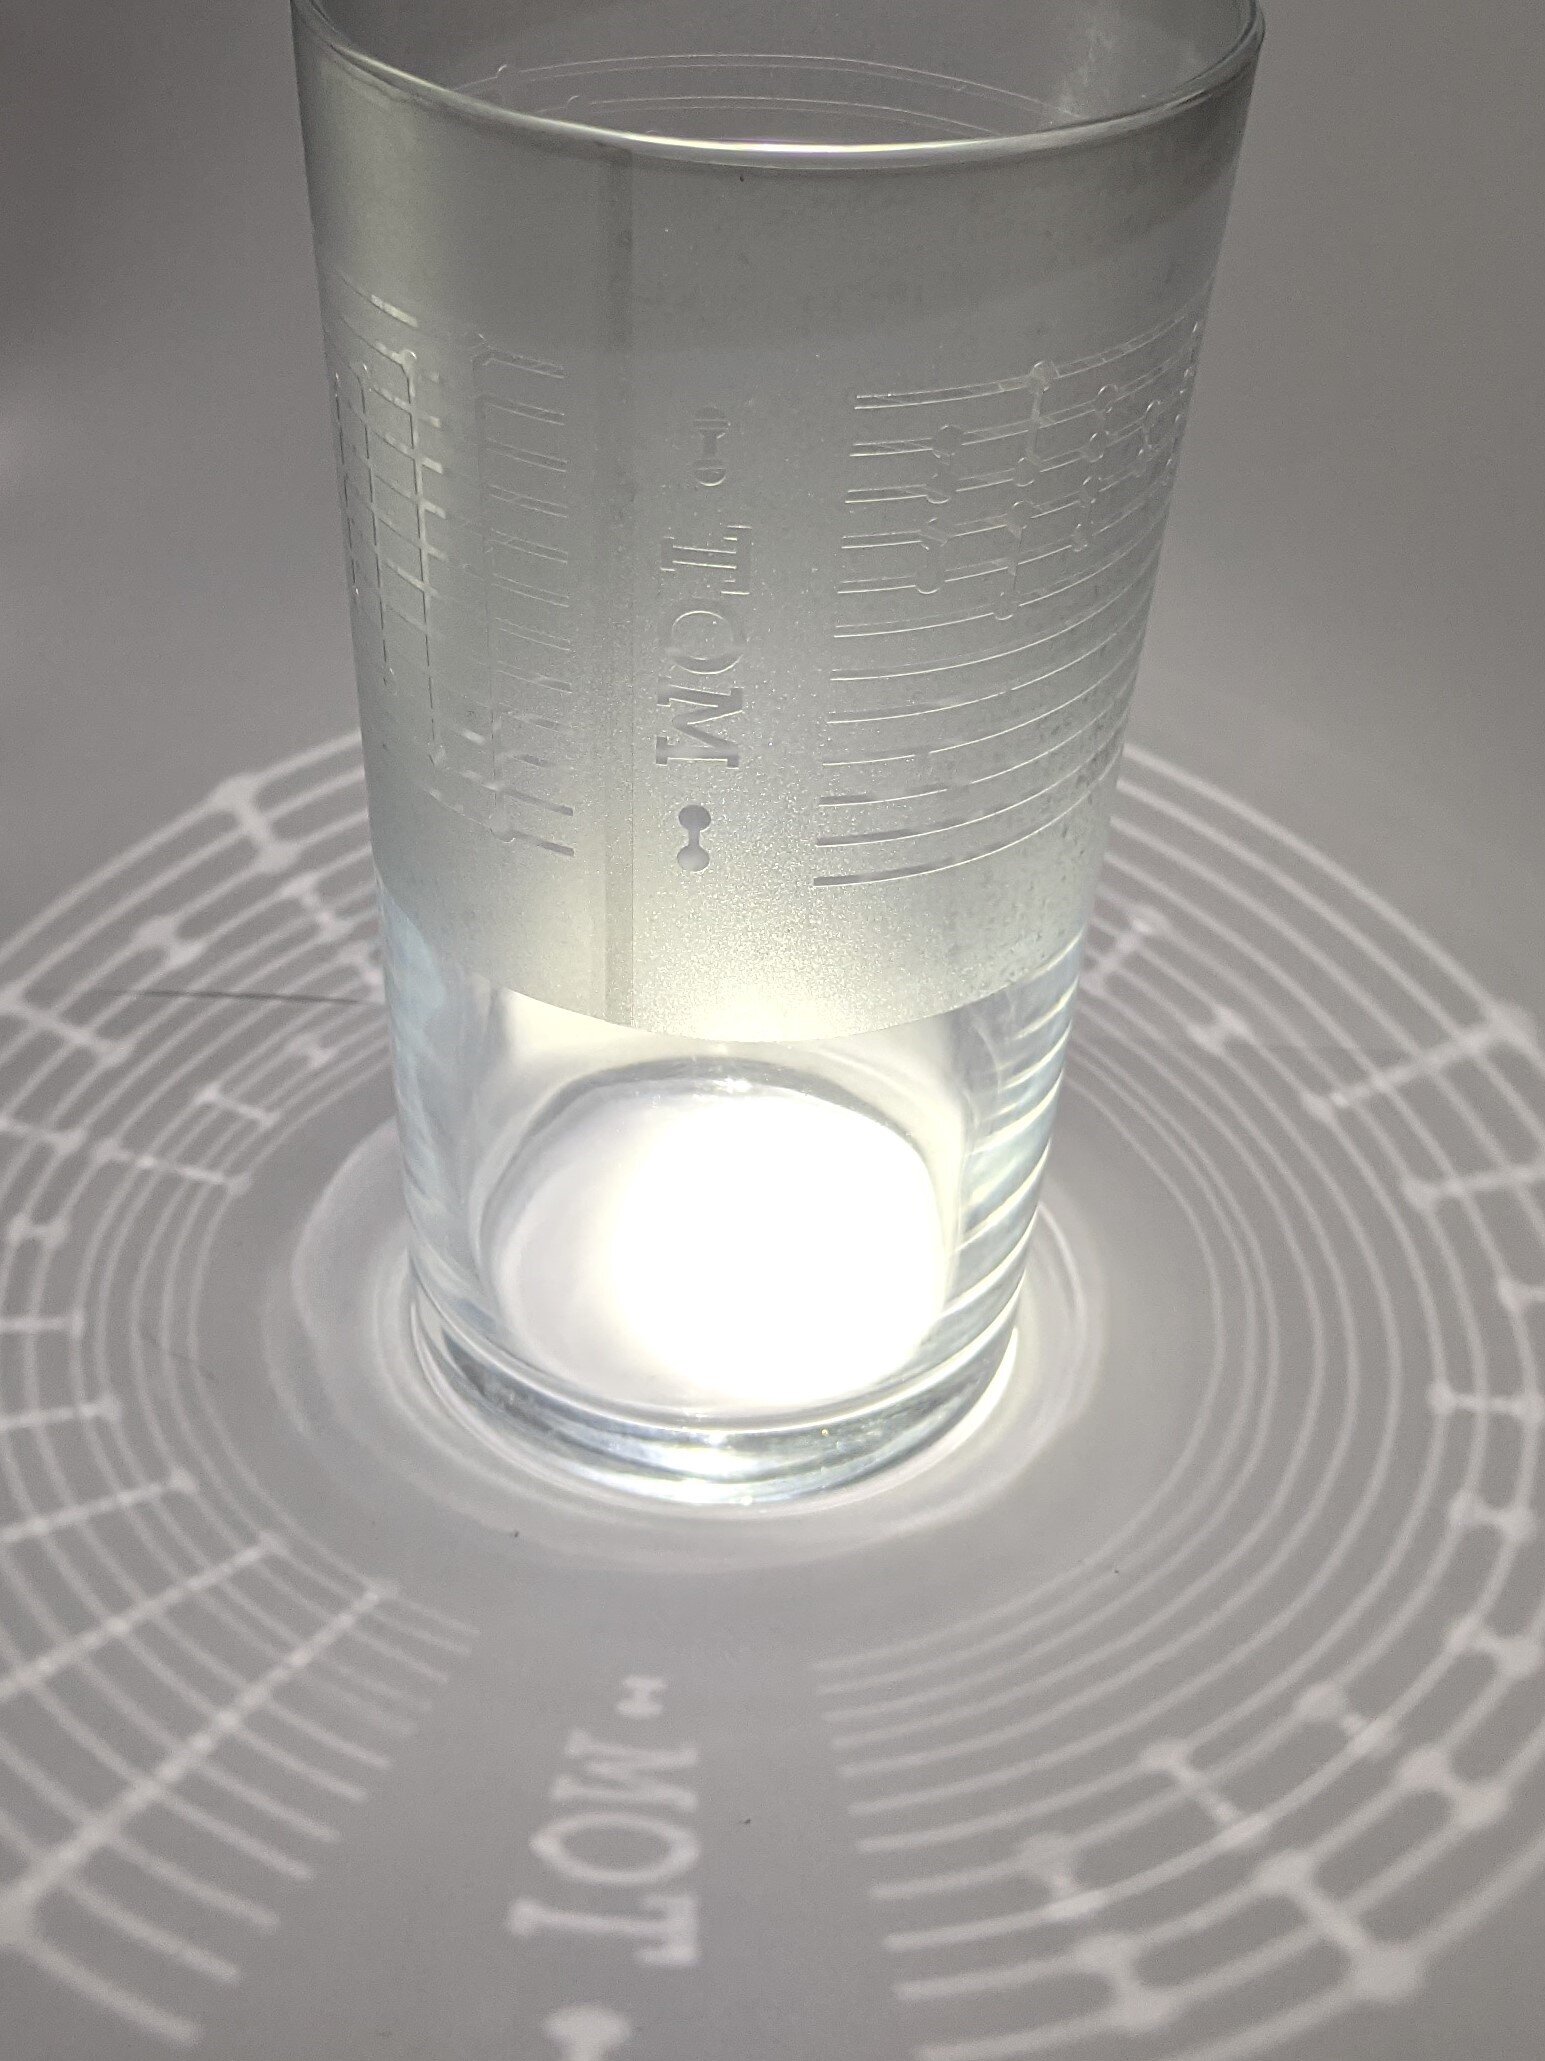
Etching pint glasses II - The making
You can read about making the design here
Etching the pint glasses was remarkably simple, and it has probably taken much longer to write this than it took to actually etch the glasses.
-
Trim the stencils The stencils are vinyl sandwiched between two backing layers; you remove one layer to reveal the stencil you stick down while the other is left there to hold the different parts of the stencil in place. Only the stencil was precisely cut, so the first step was to trim the backing layers down to the size of the stencil so it is easier to align the stencil. I also found it convenient to cut the first side of the backing layer in half at this point so you can stick down from the middle of the stencil.
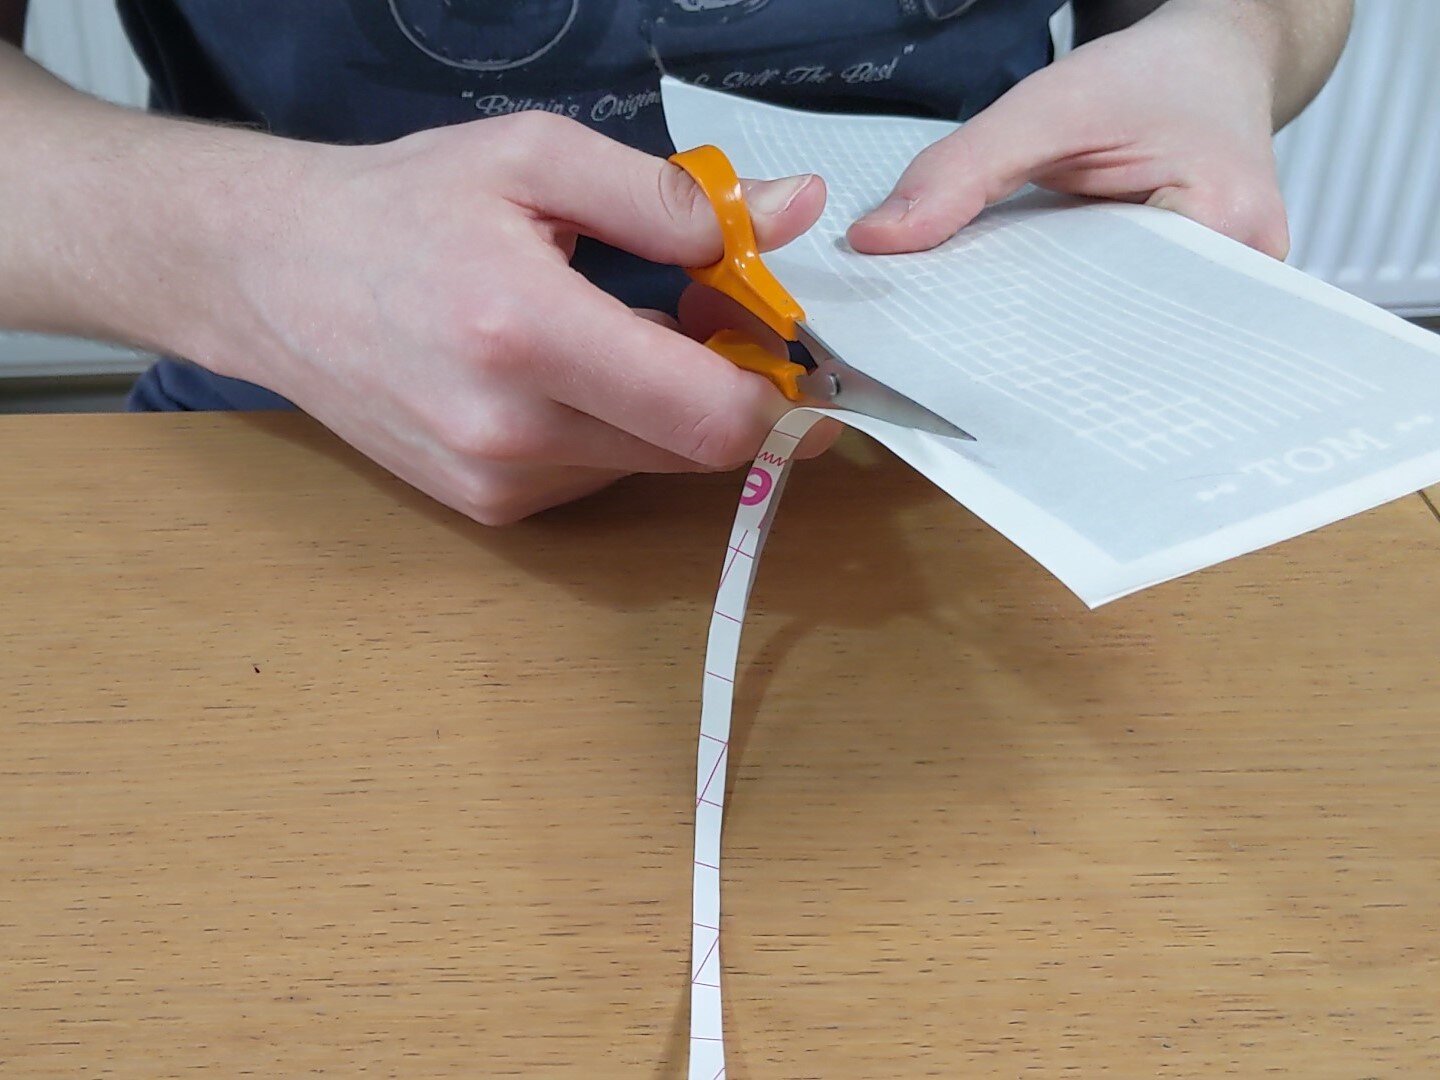
Trimming the stencil. 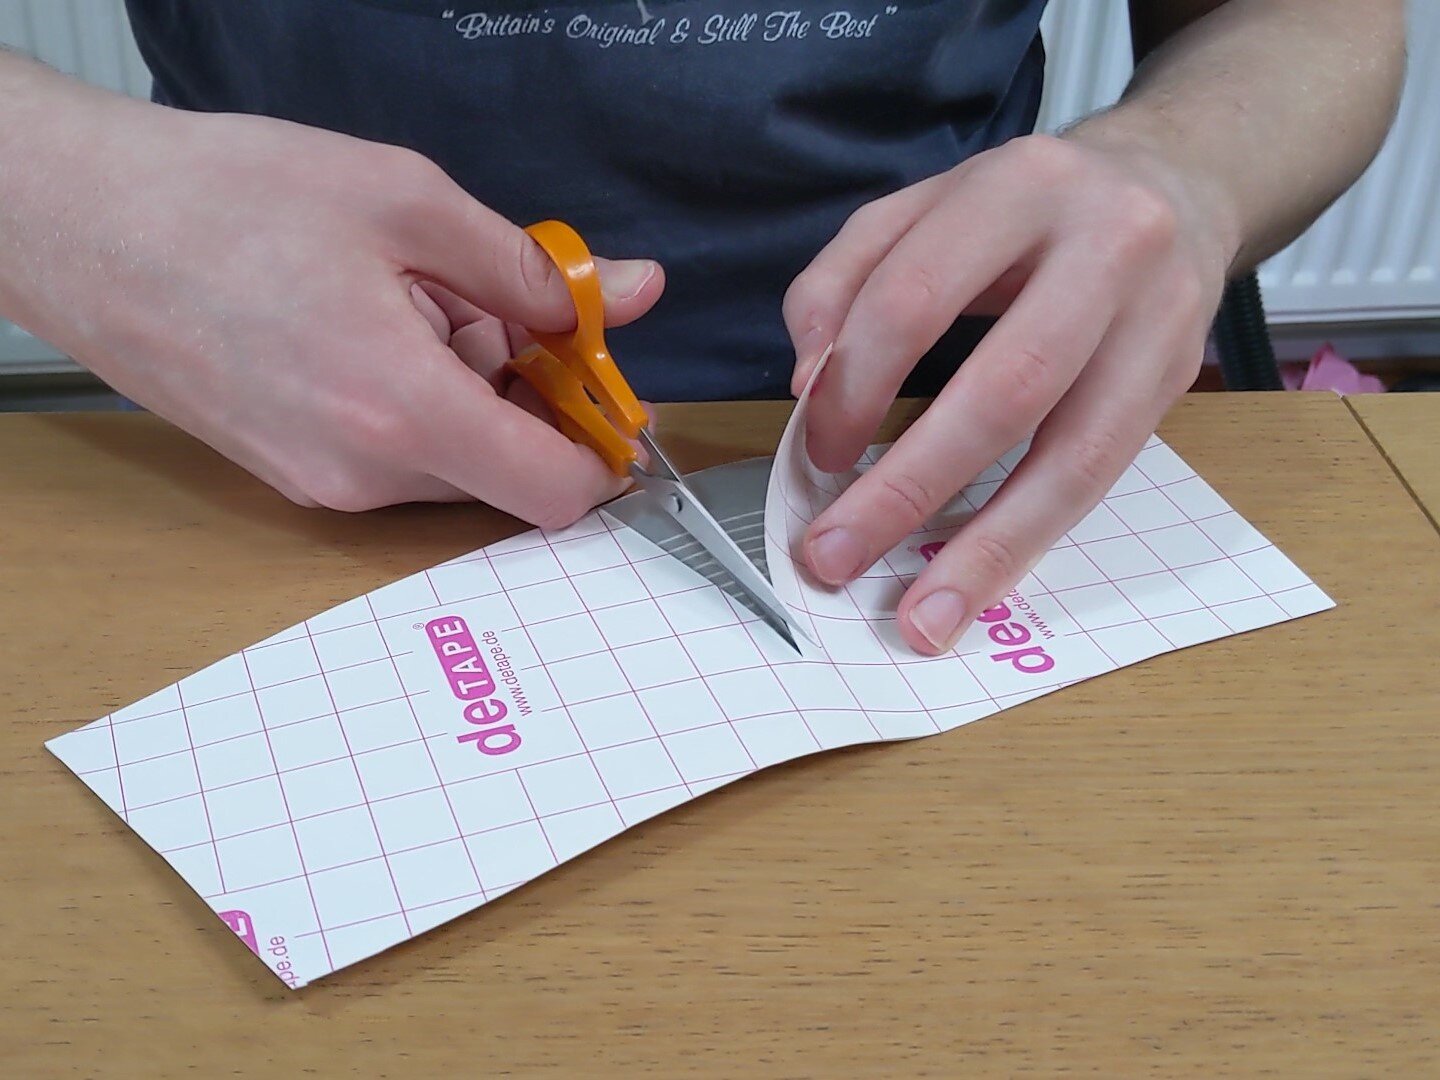
Cutting the backing roughly halfway. -
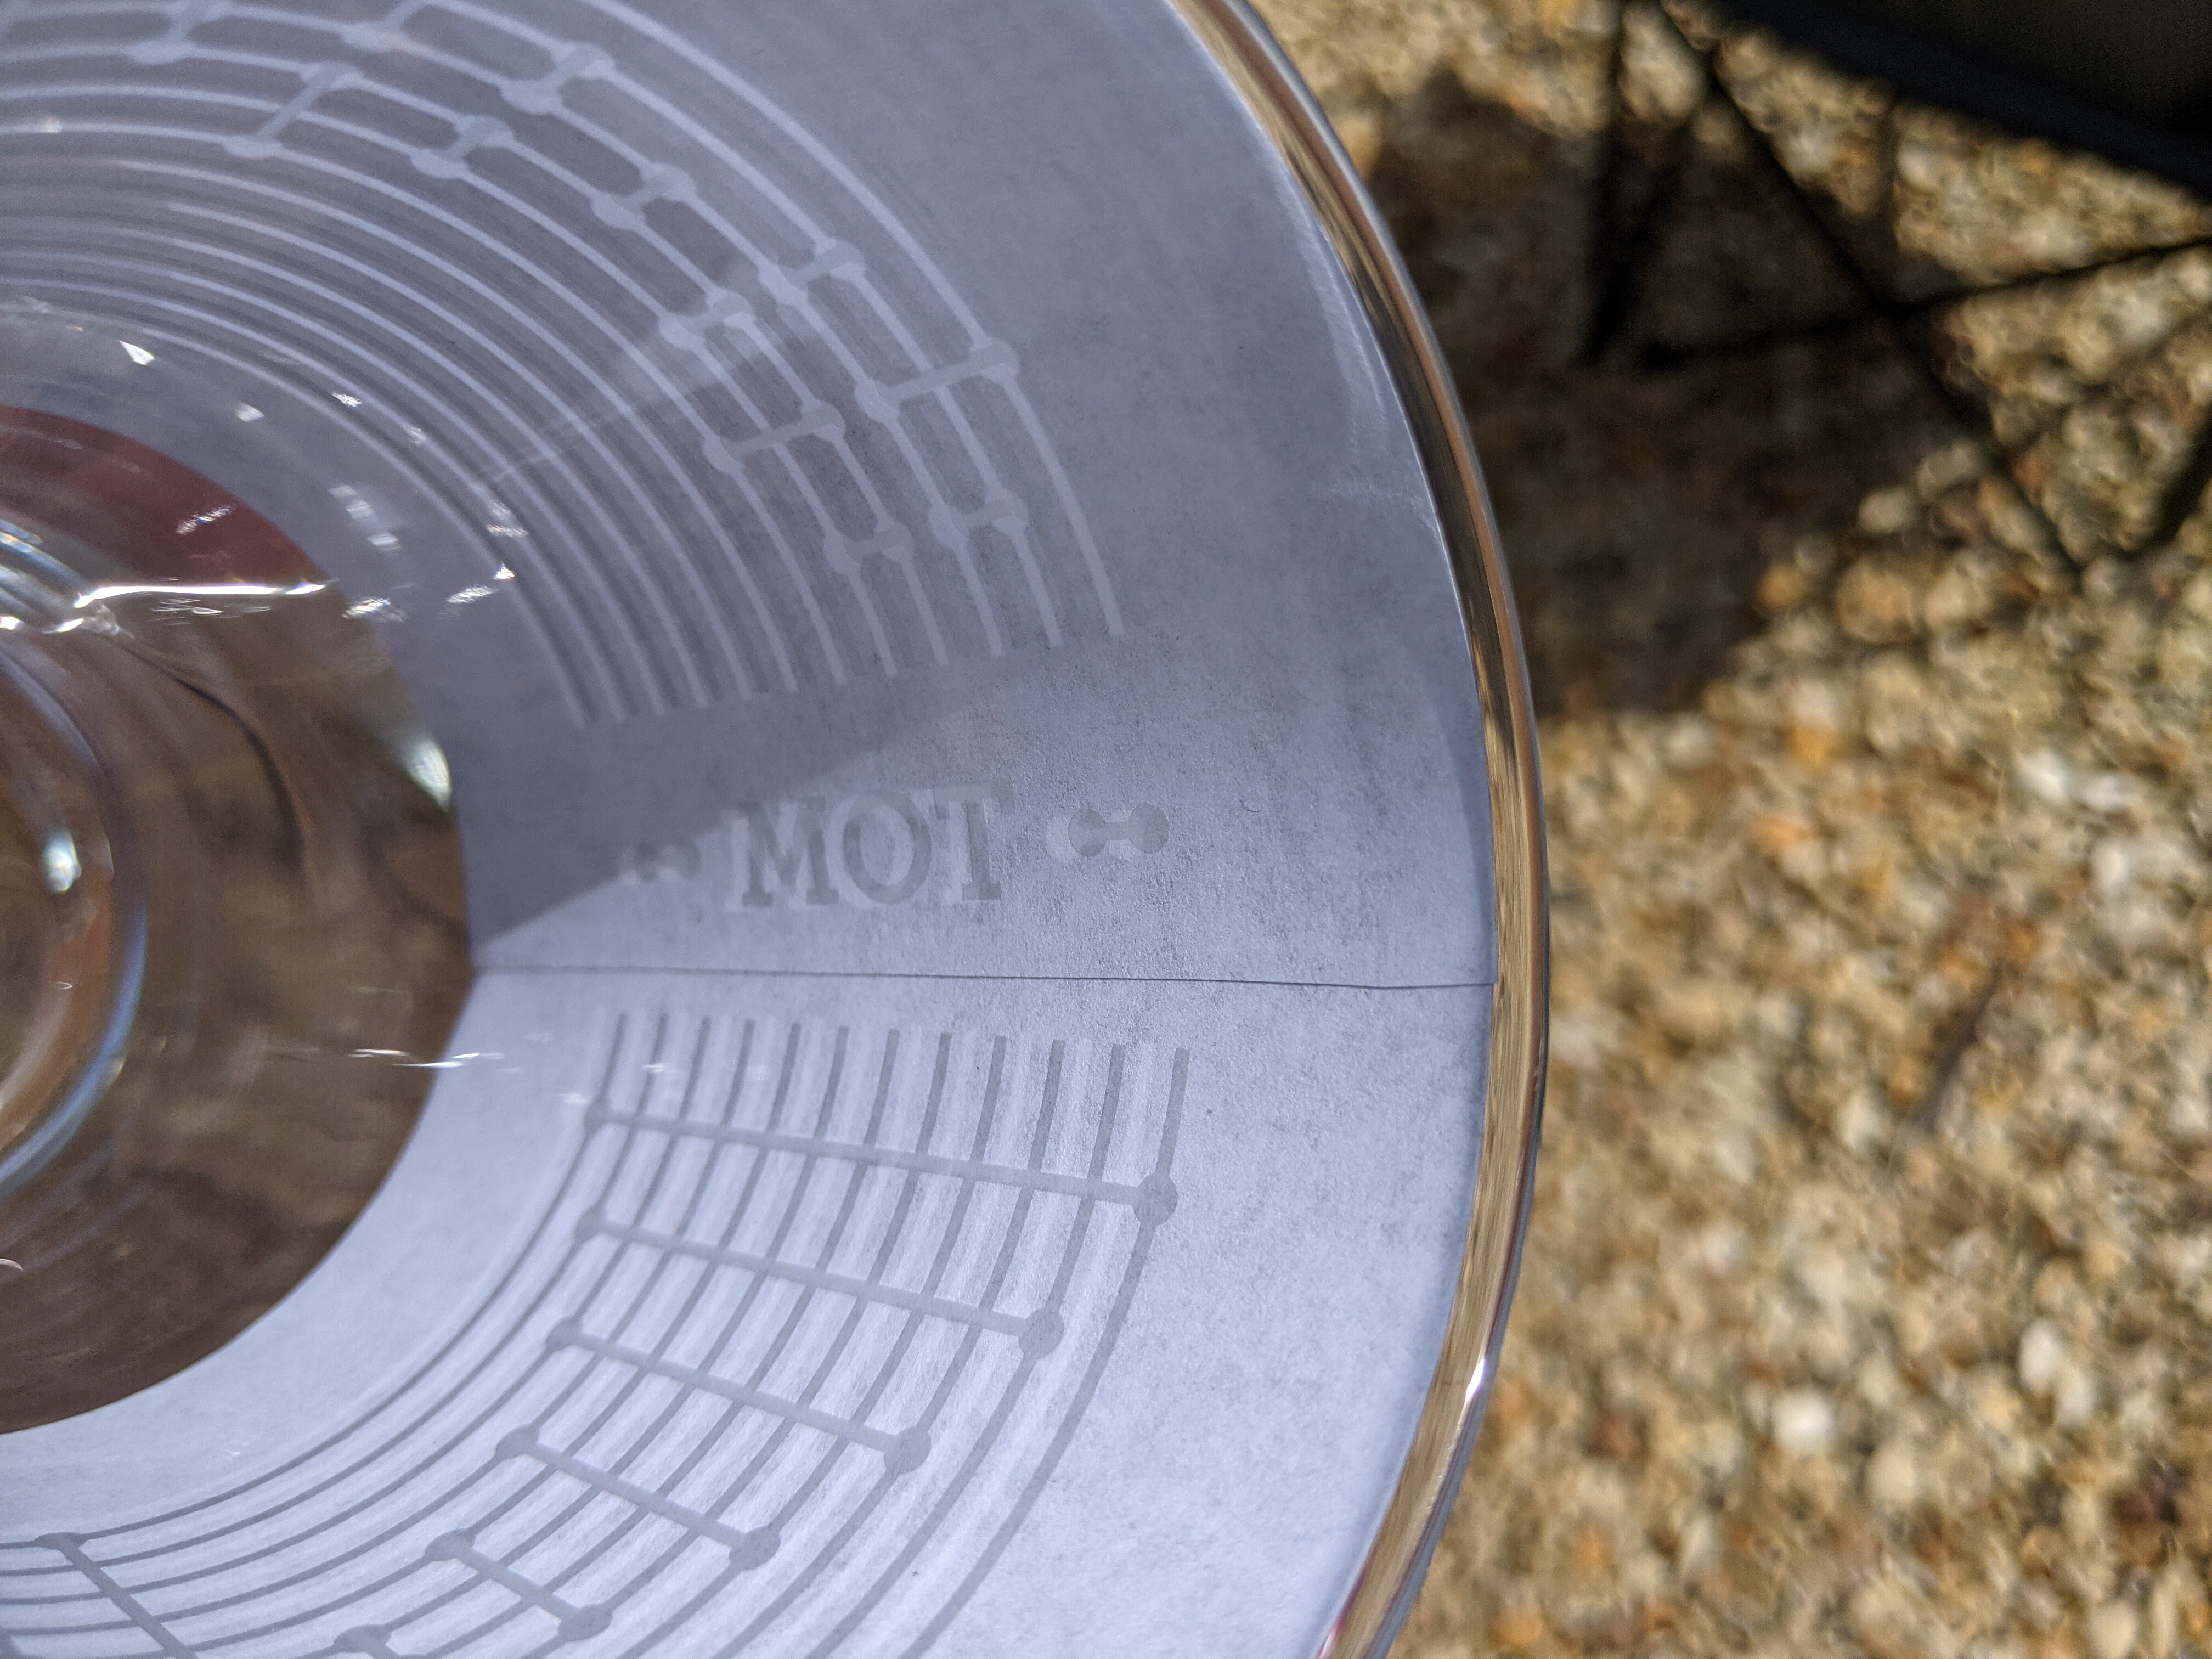
Stick the stencil to the glass The stencil was designed so that the top of the stencil should align with the brim of the glass, but one attempt at trying to keep the stencil aligned with the top of glass while sticking it down was enough to decide that something else needed to be done. Instead, I aligned the stencil with the top of the glass with the backing still on and taped the centre of the stencil to the glass in the right place. I’d already cut the backing in the centre so I could stick the stencil down working out from the centre and it was fairly easy to keep everything aligned.
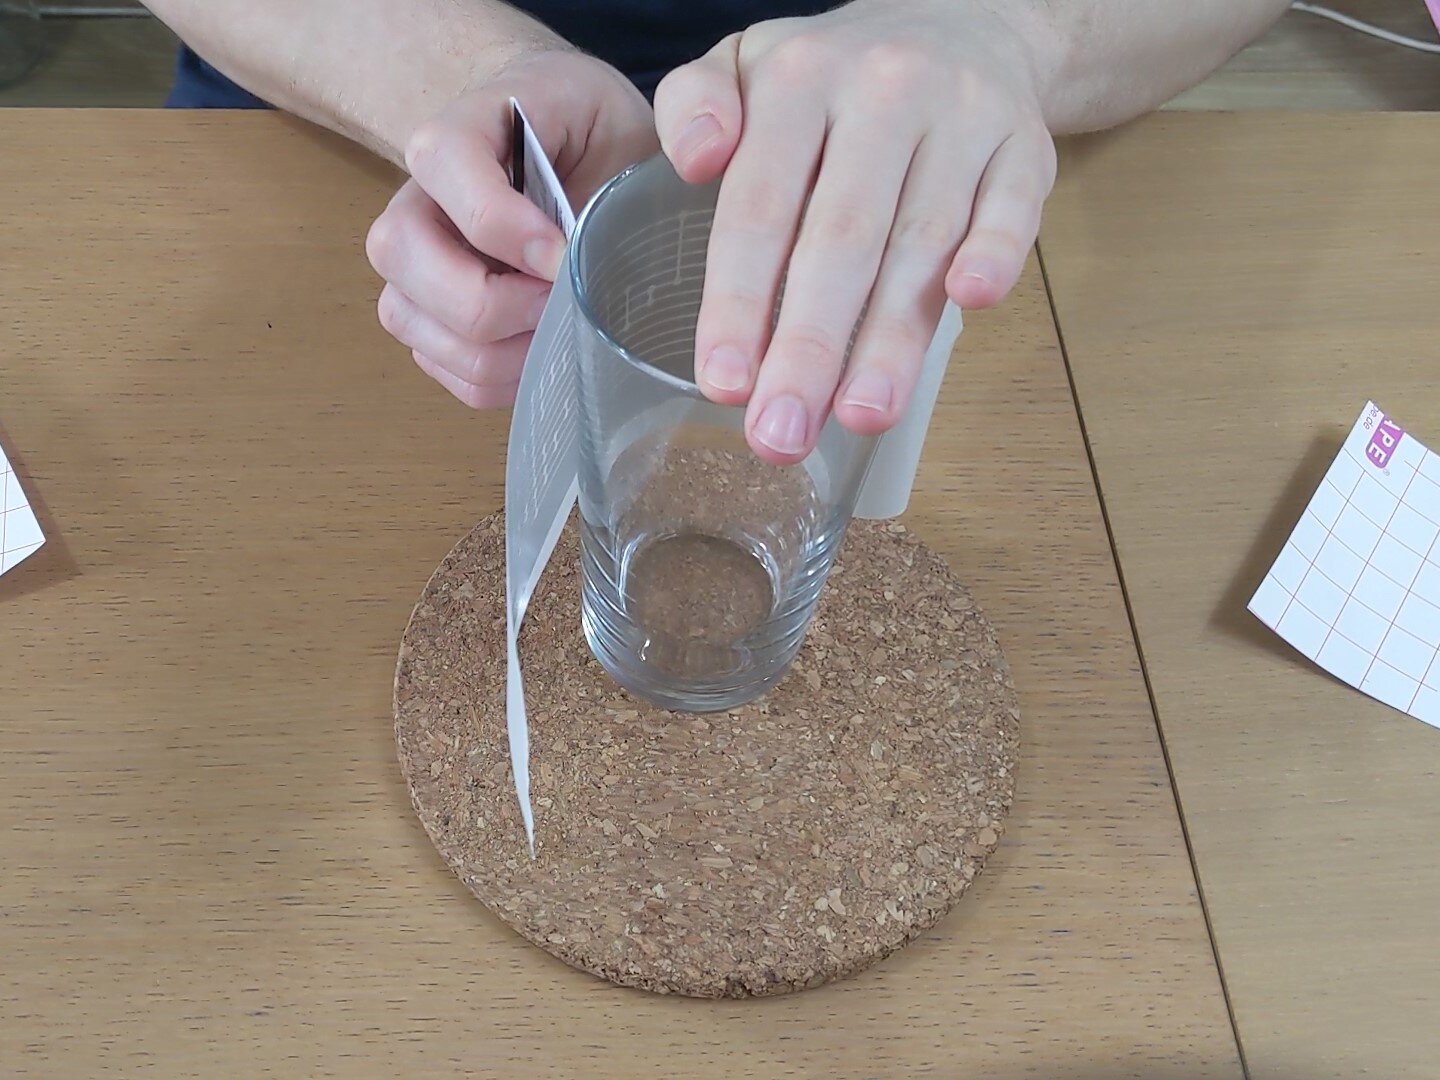
Sticking the stencil to the glass. -
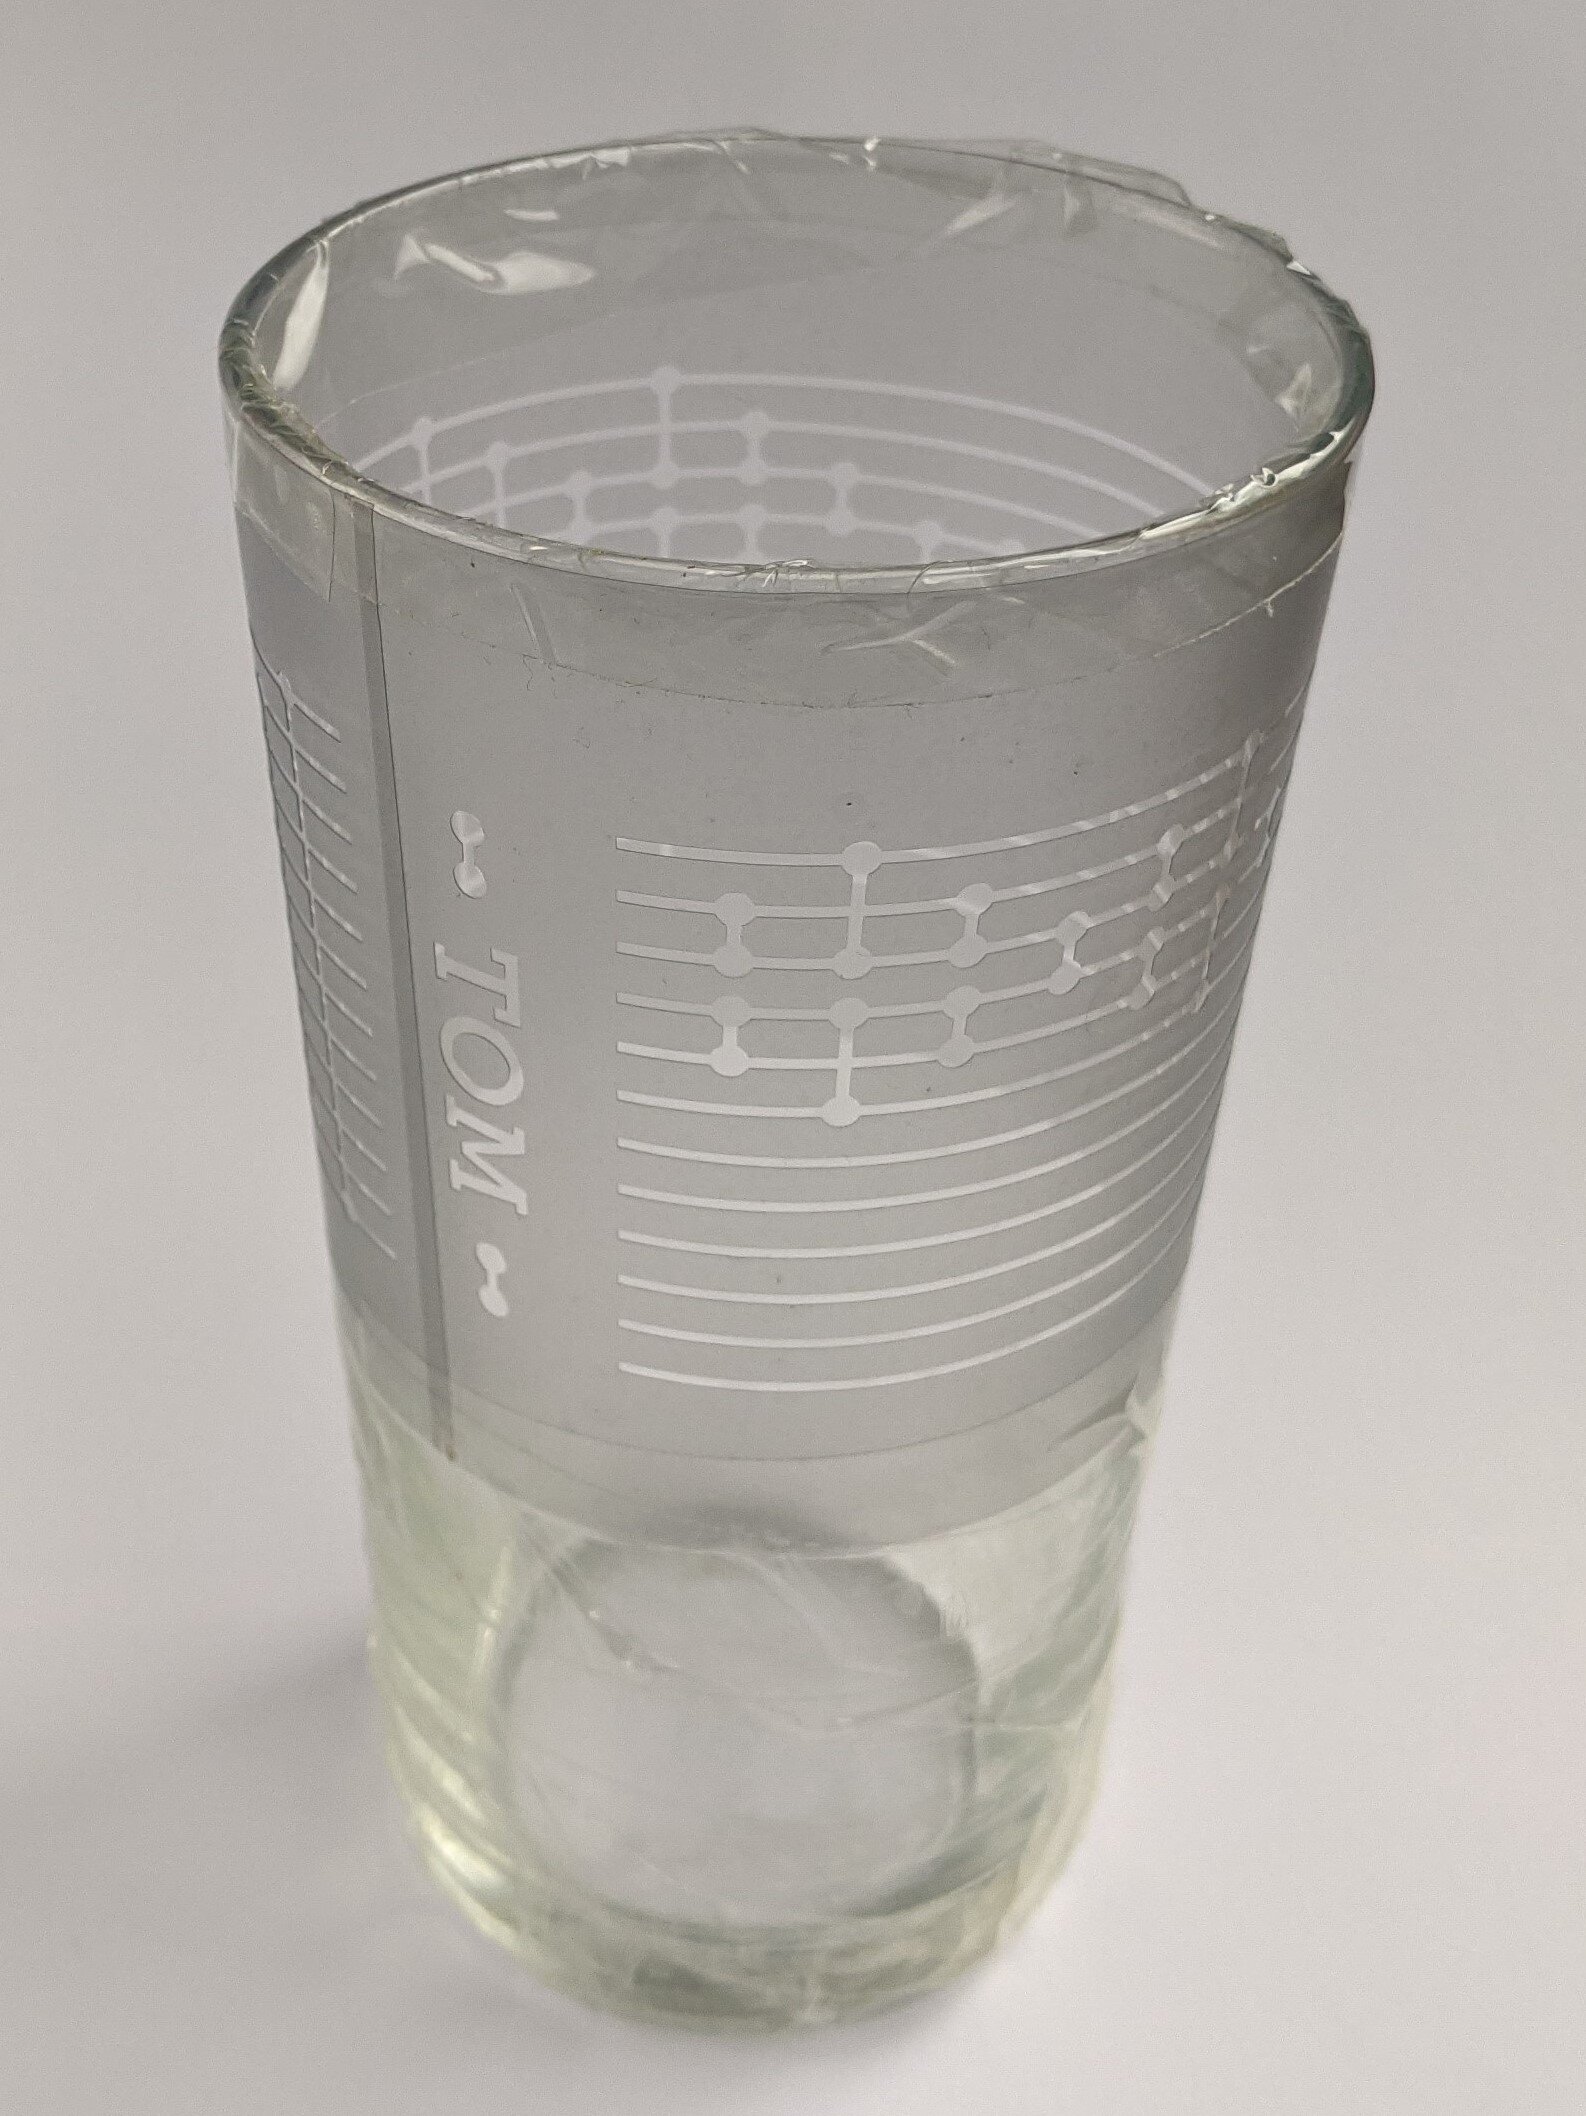
Remove the backing and cover the rest of the glass I decided that I didn’t trust myself to not accidentally get any etching cream outside the stencil, so I wrapped up the glasses in tape to protect the rest.
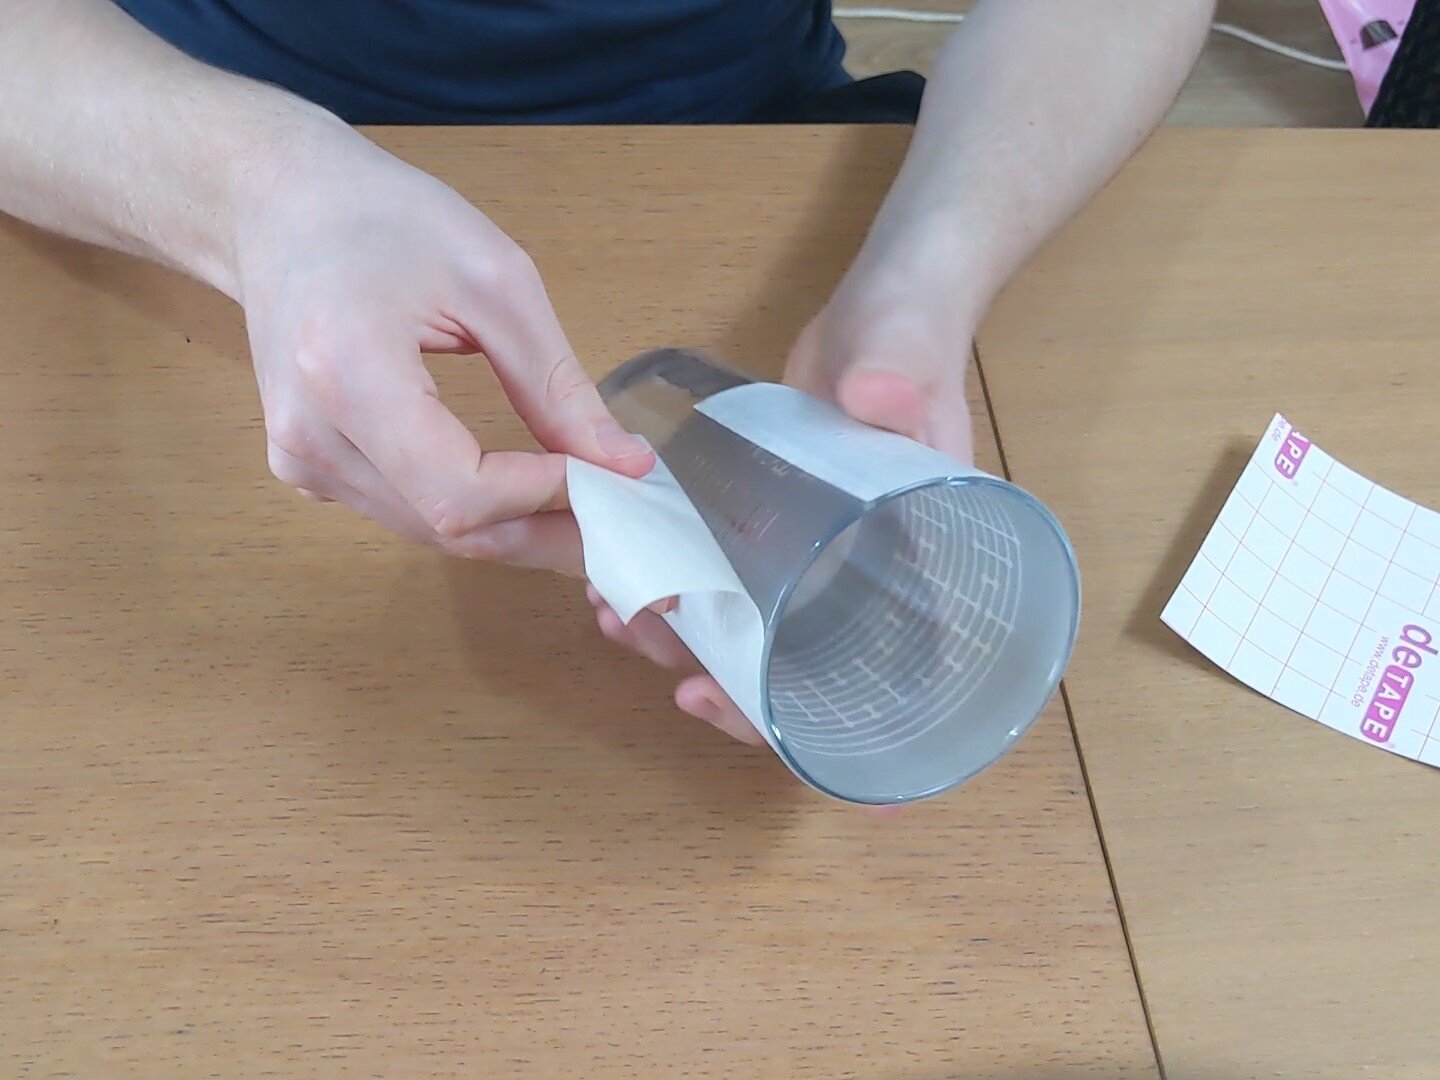
Removing the backing. 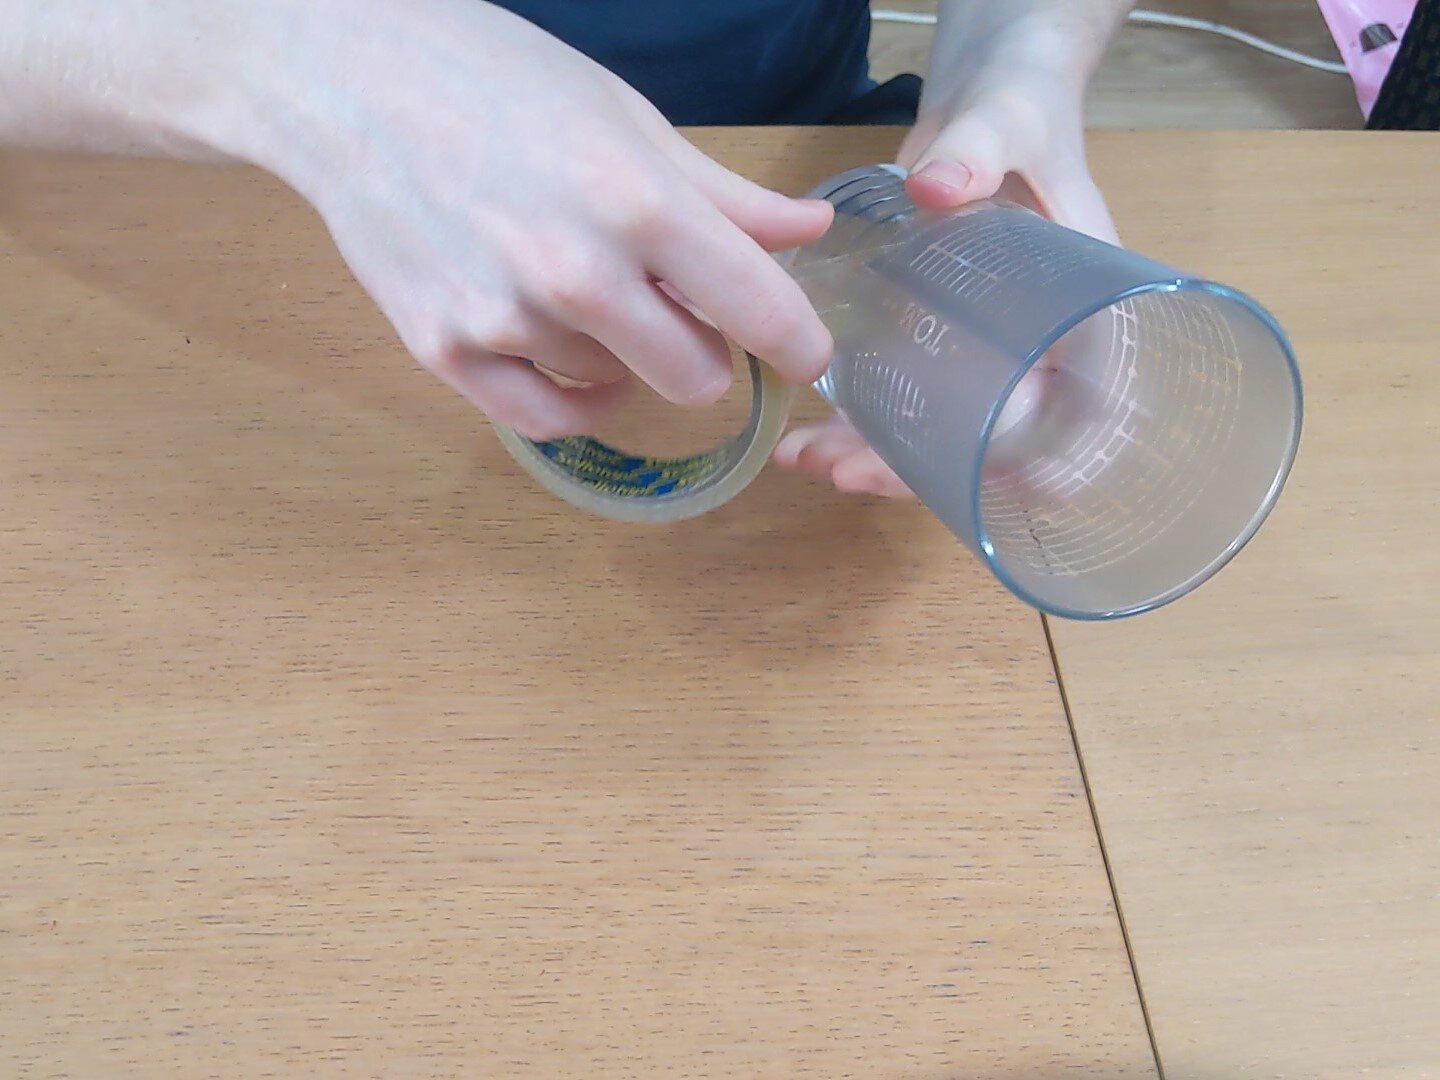
Covering the glass with tape. -
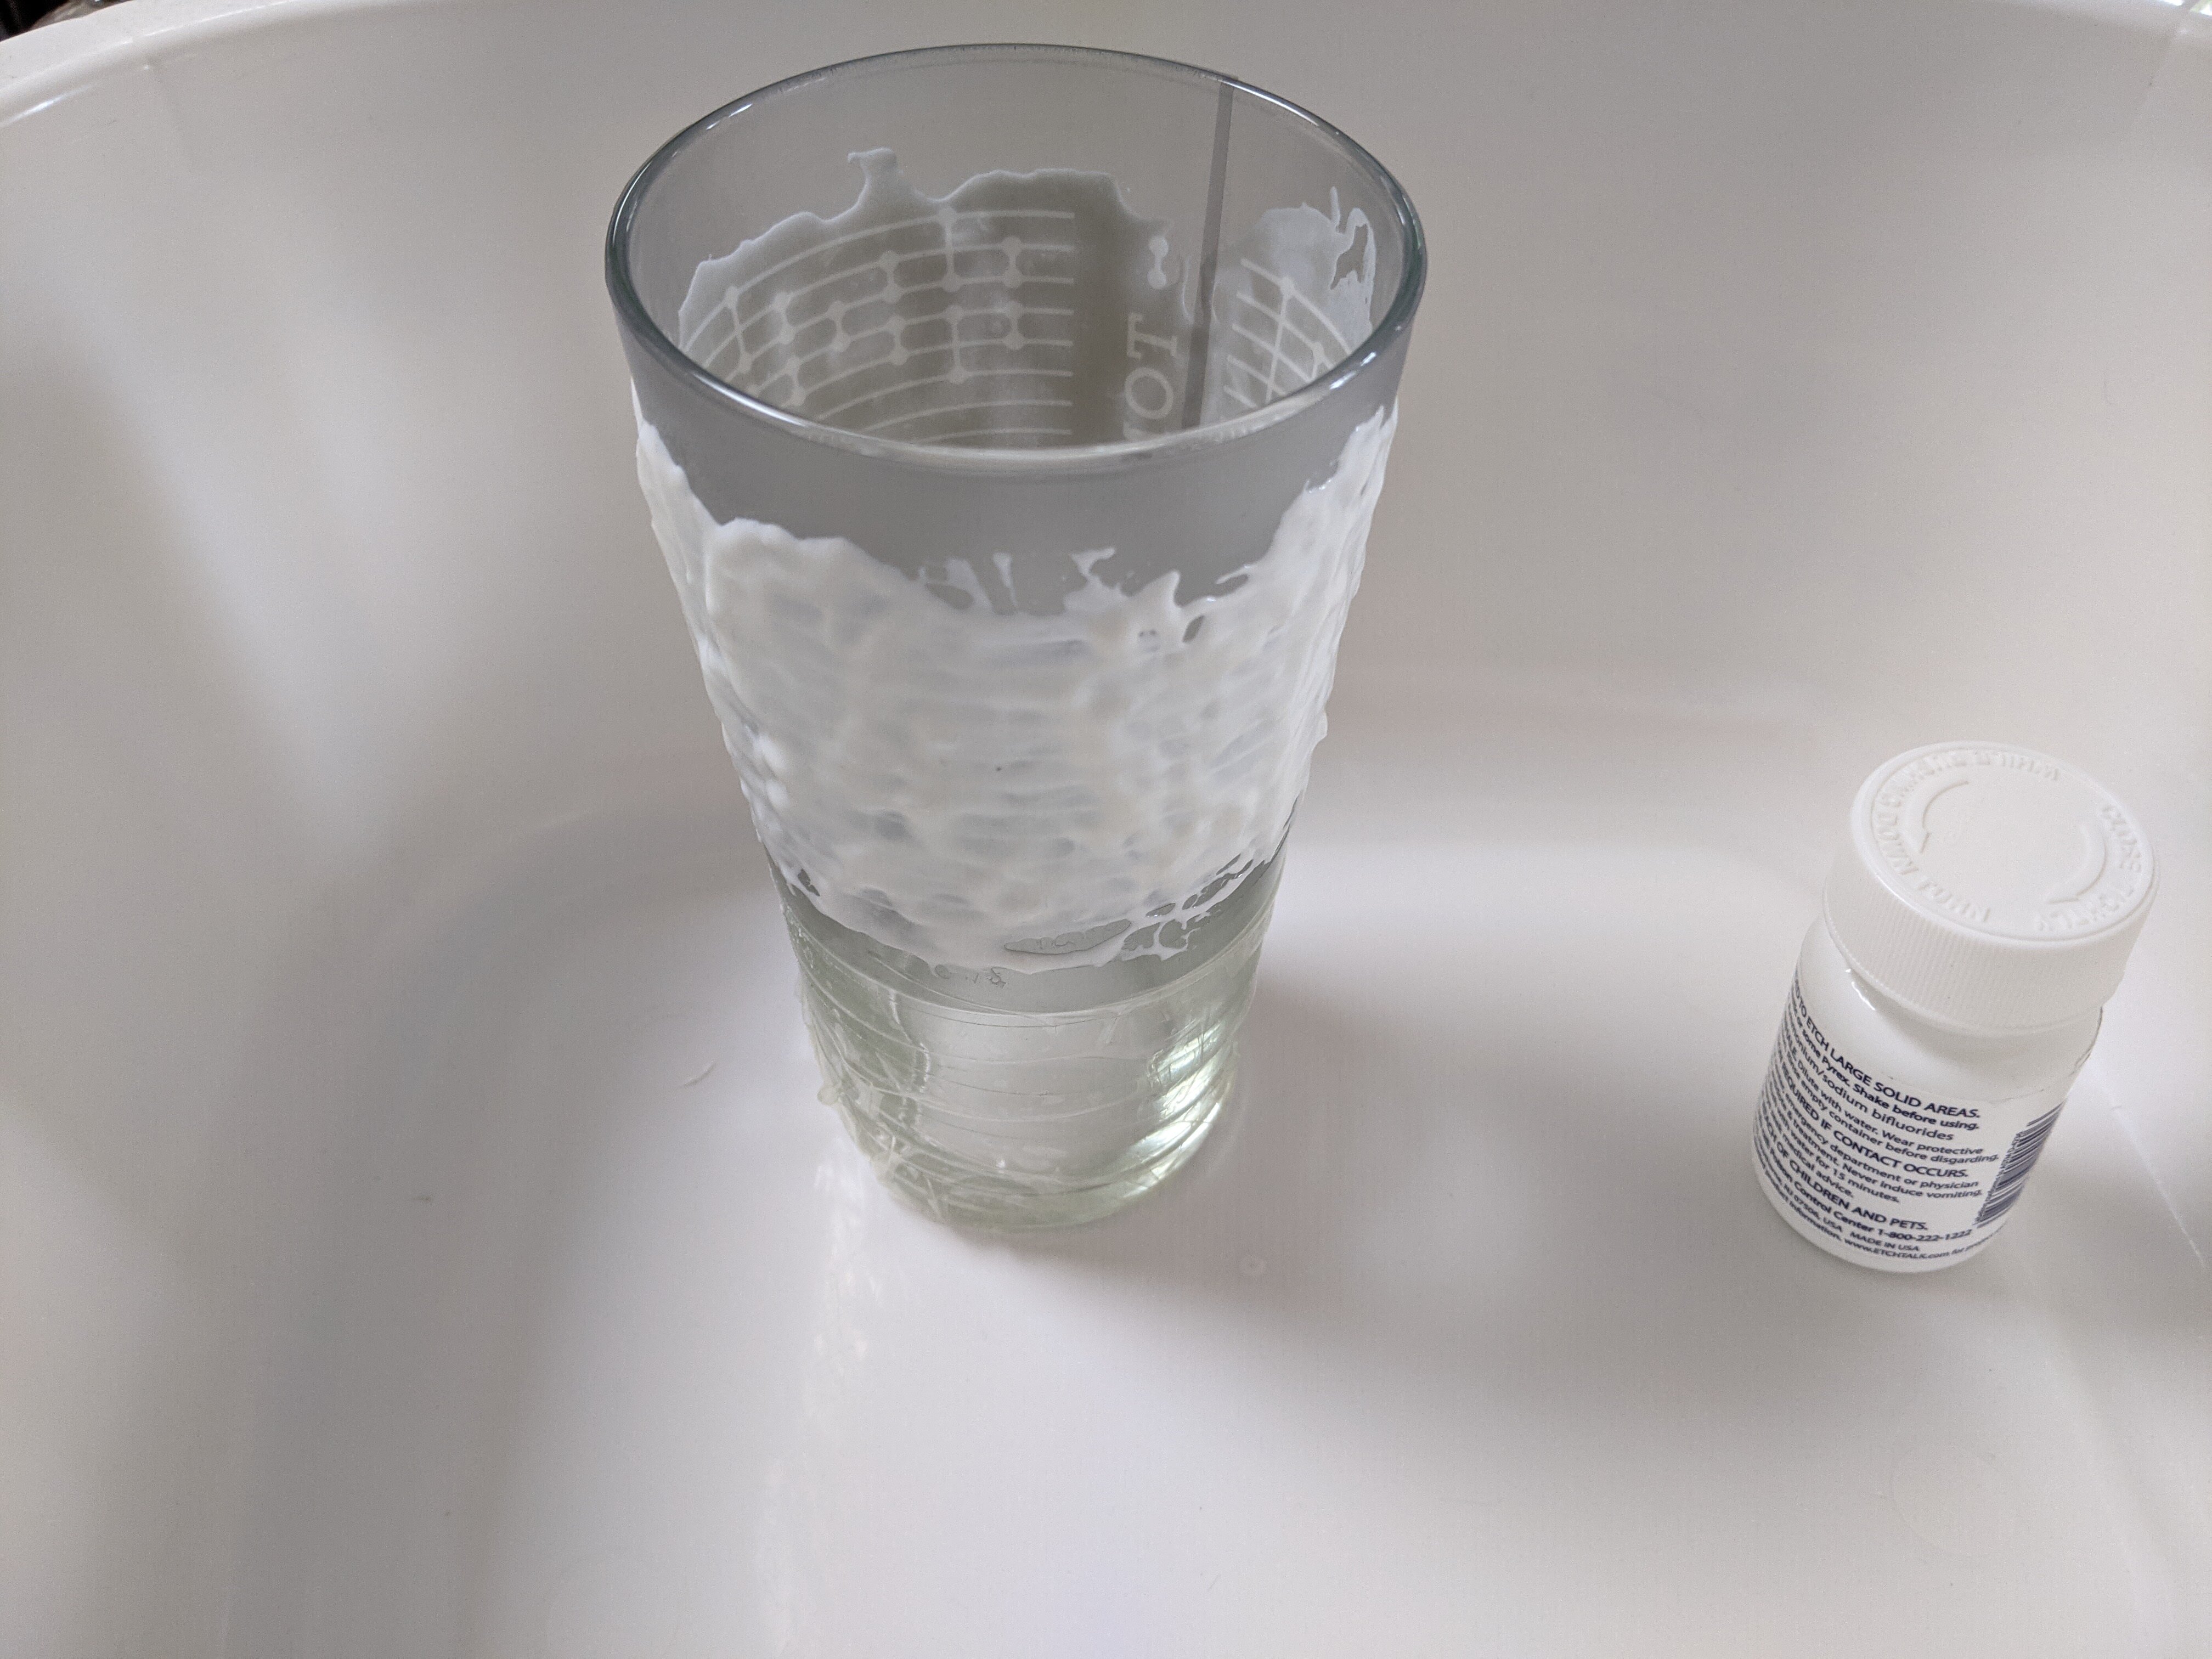
Apply the etching cream
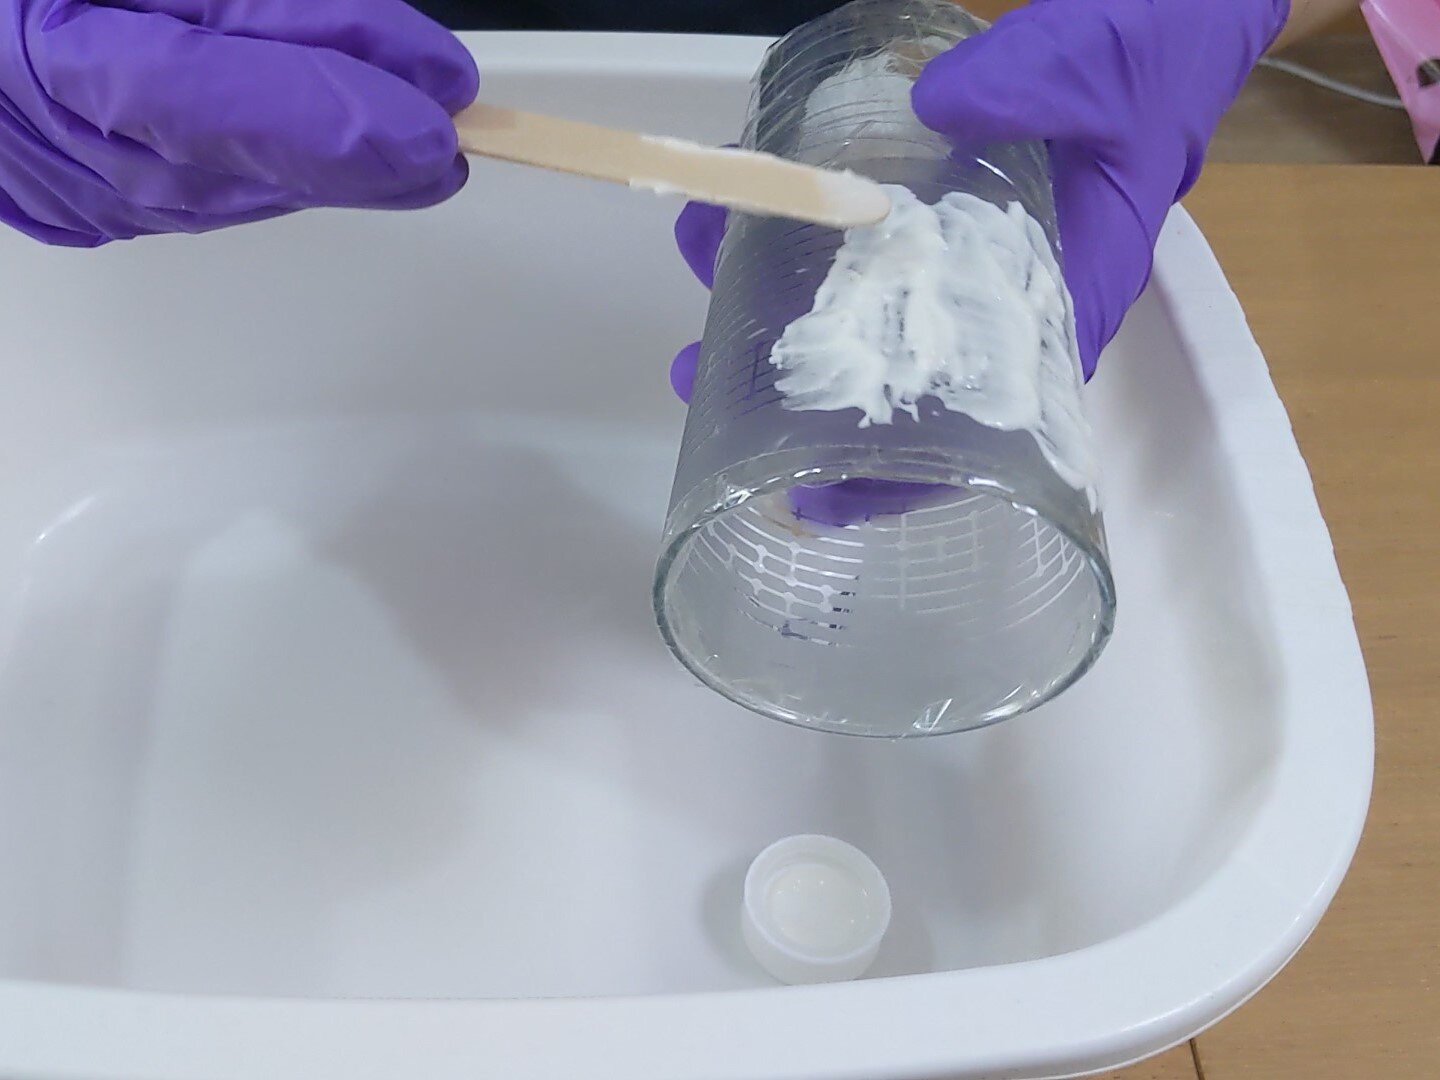
Etching cream to the glass. -
Wait
-
Rinse off the etching cream Maybe trying to remember to scrape off the excess first to be reused, which I nicely did until the last one.
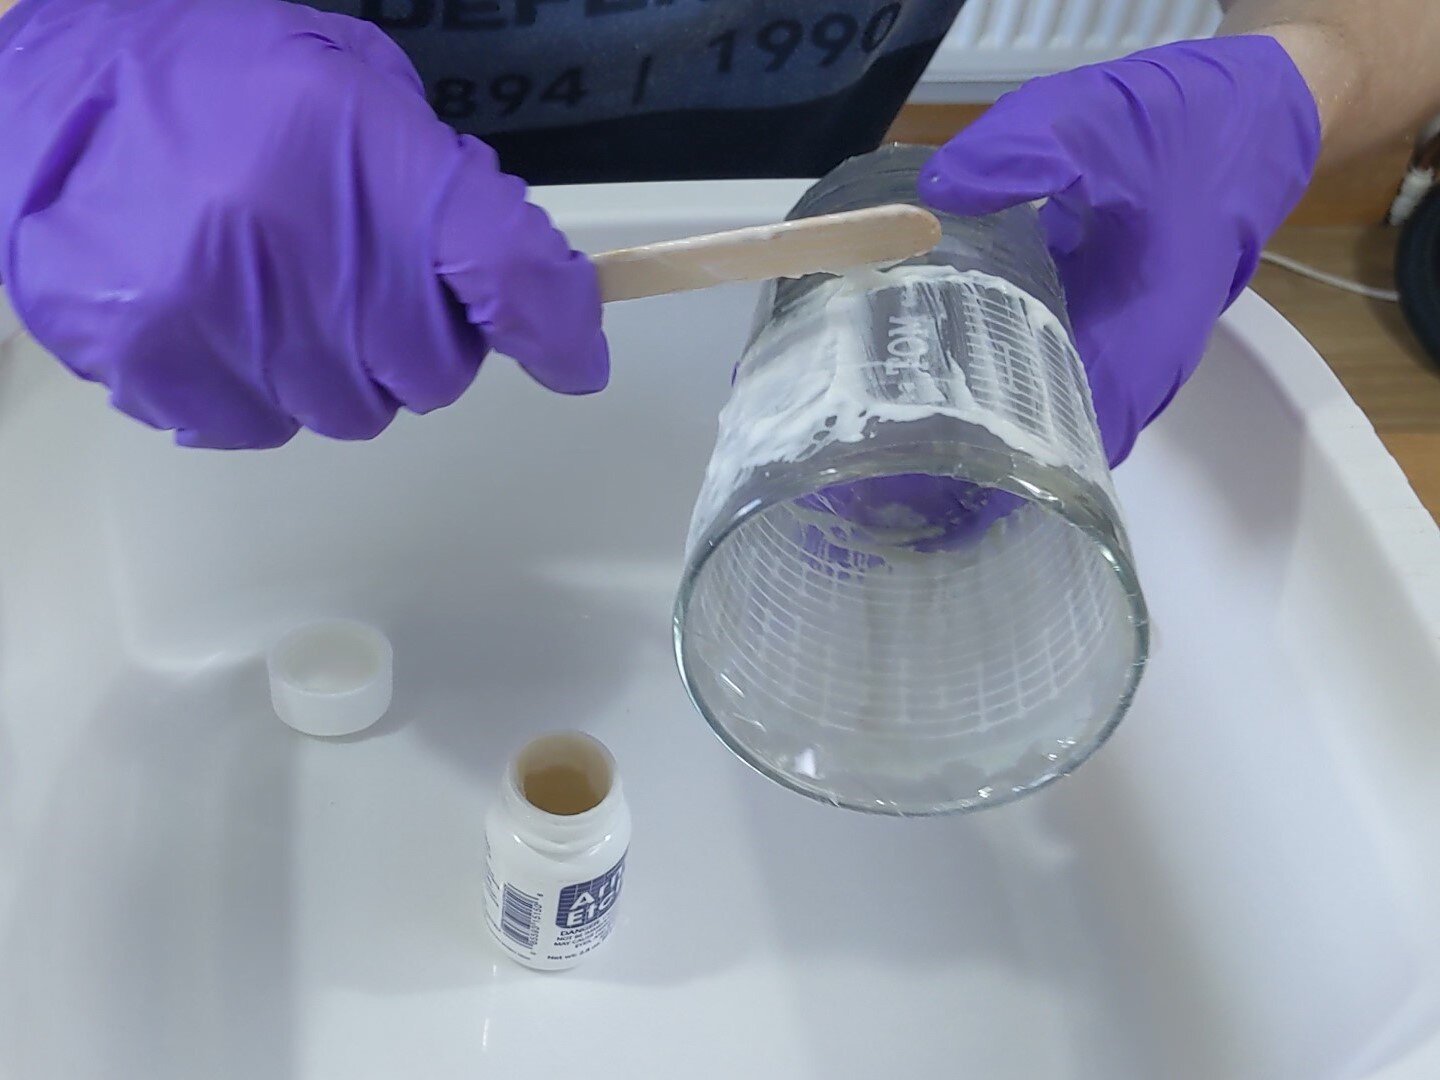
Scraping the excess etching cream off. 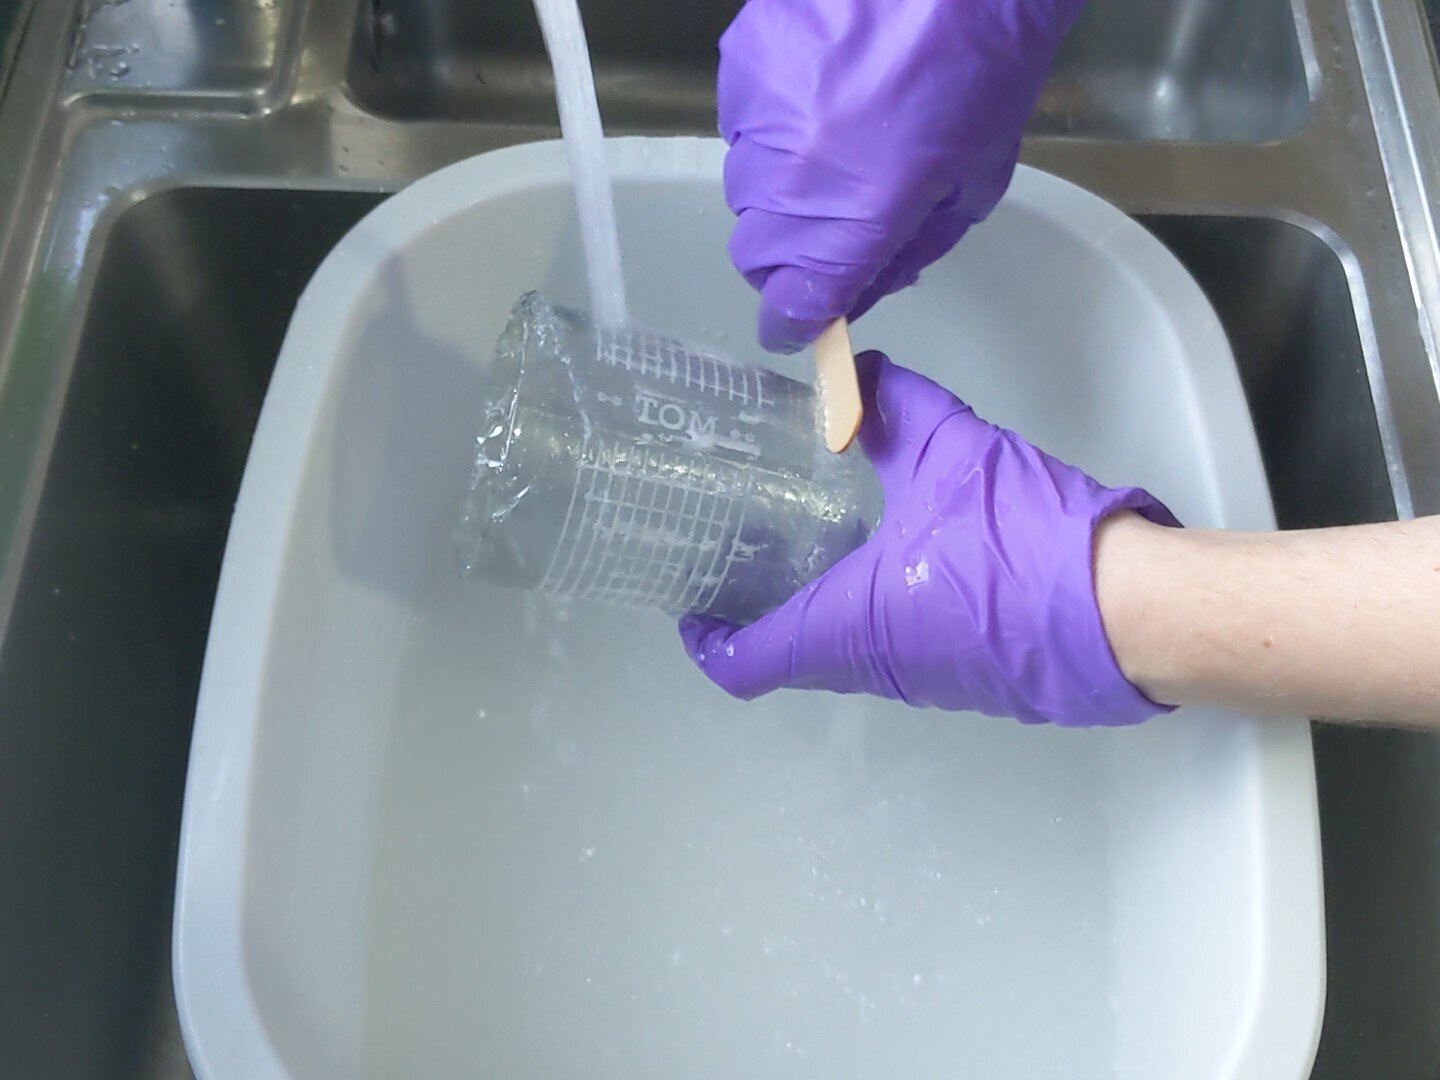
Rinsing off the remaining etching cream. -
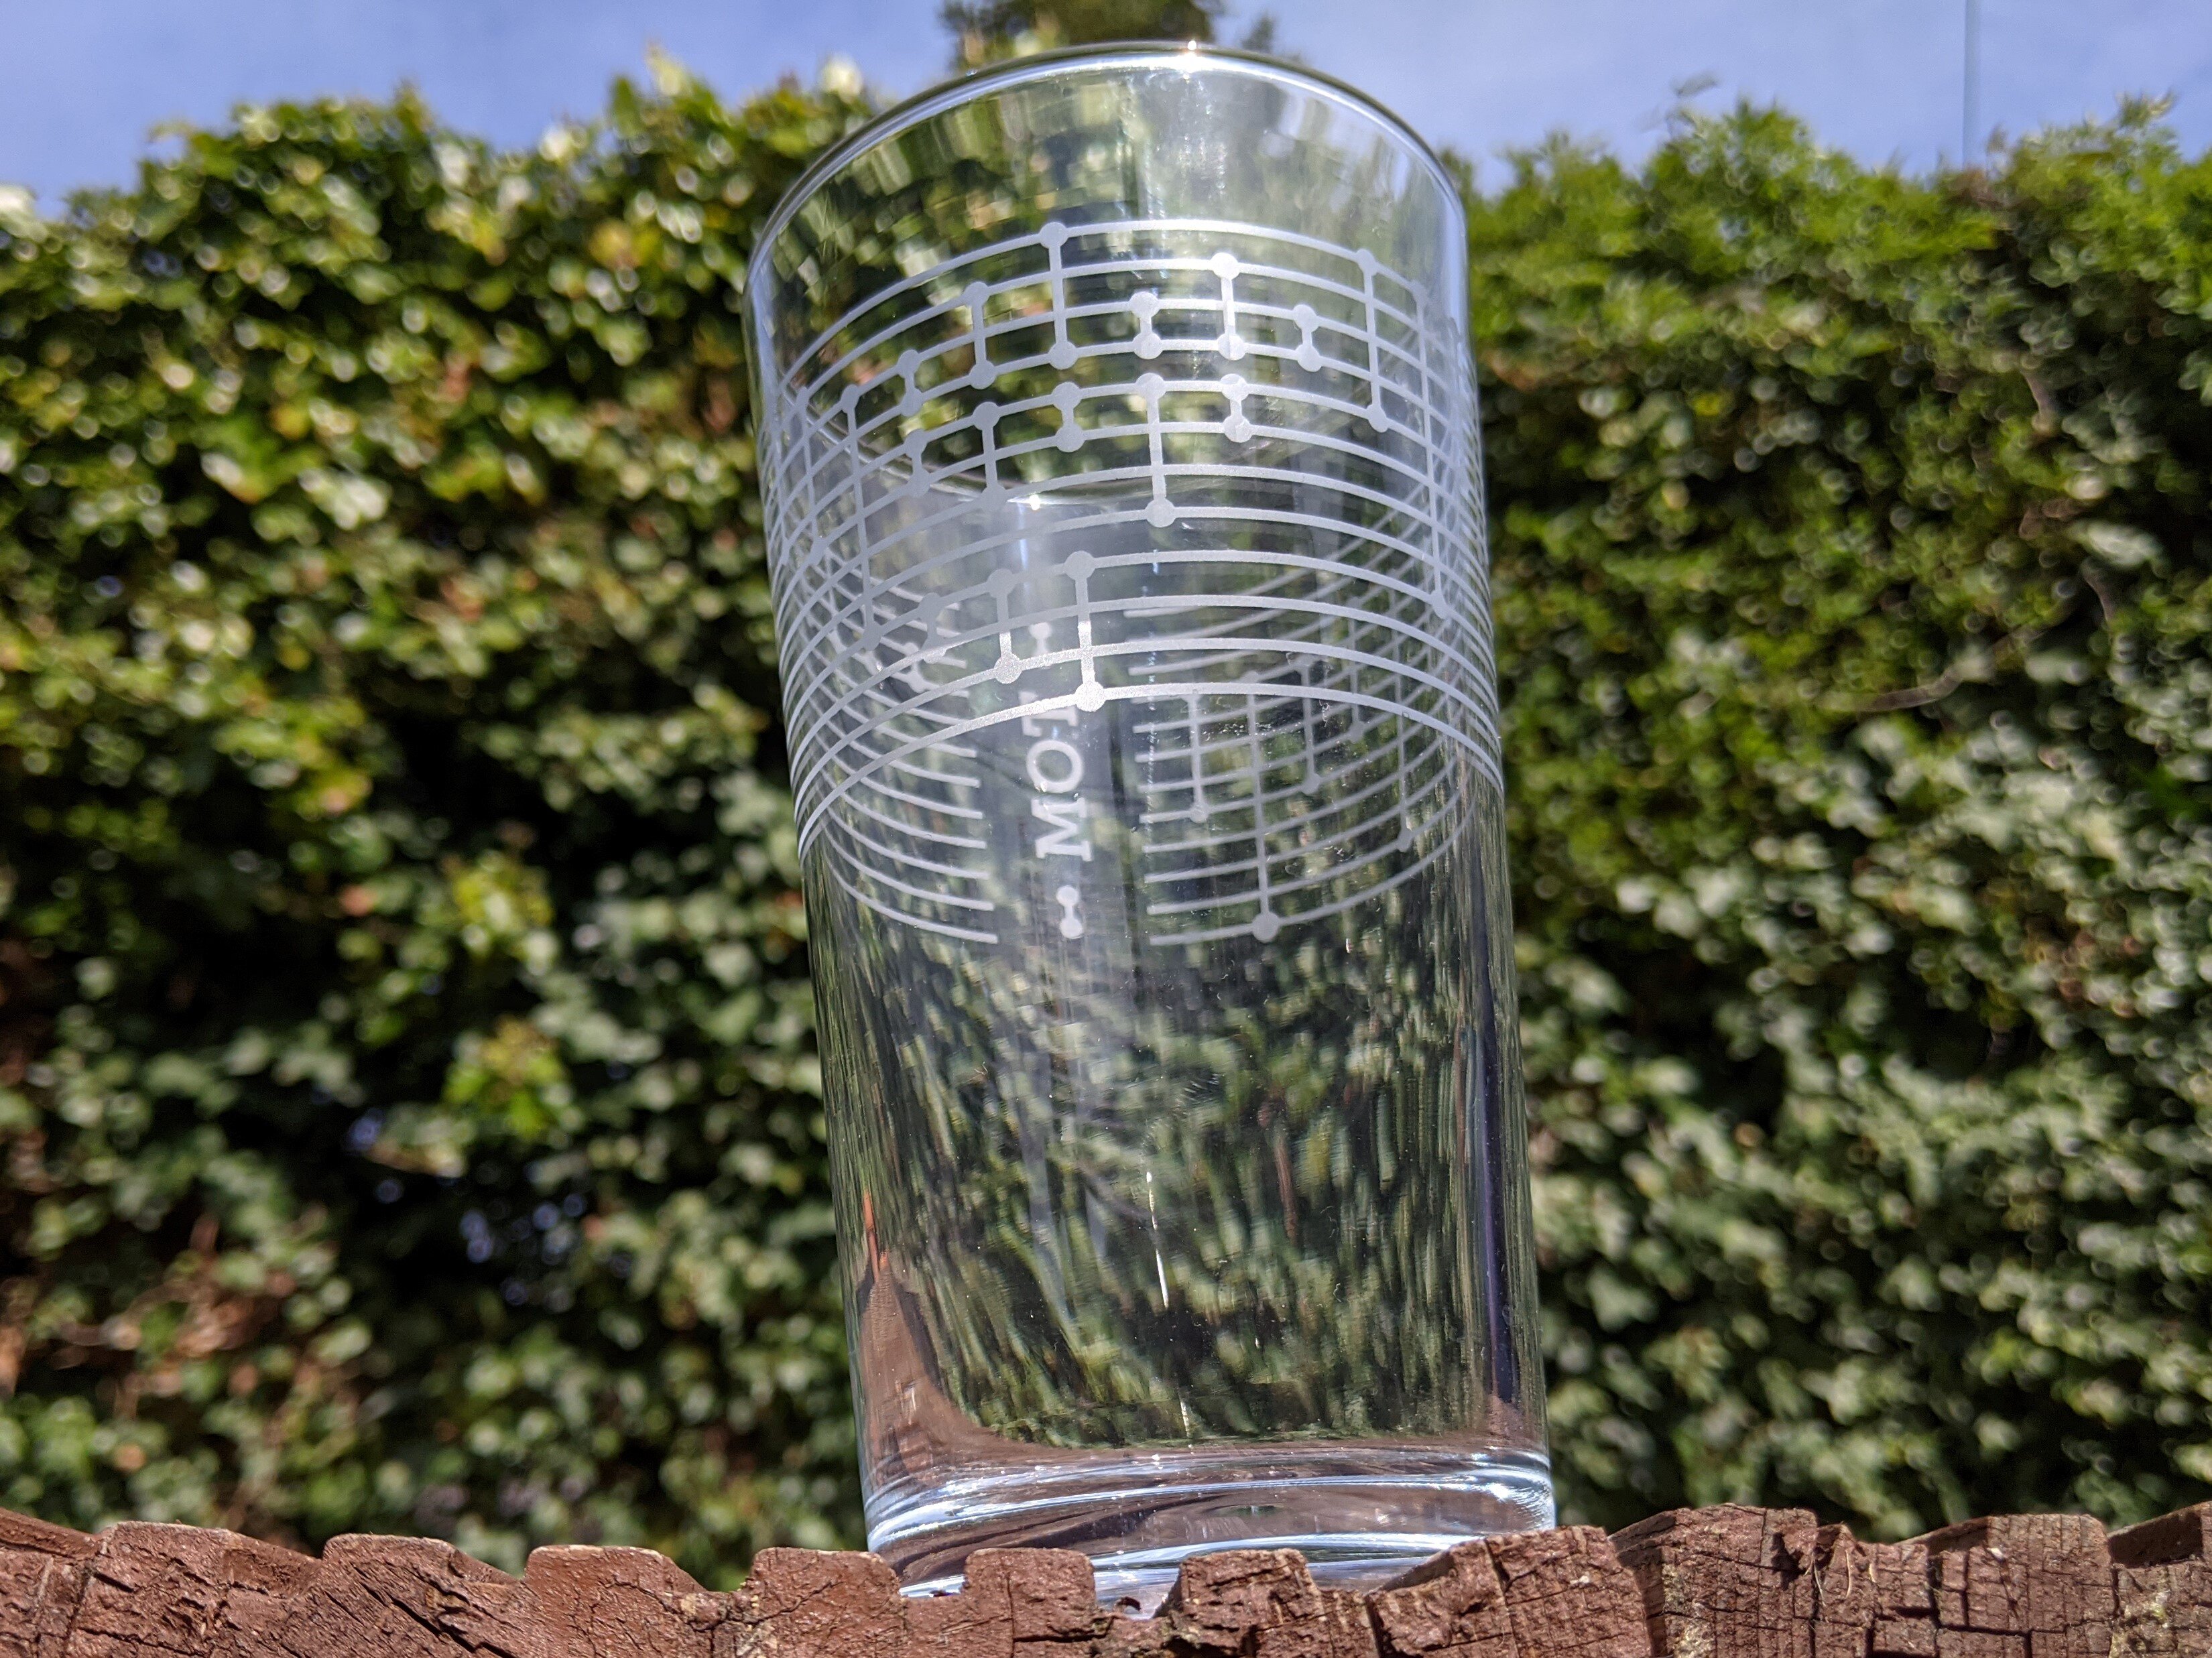
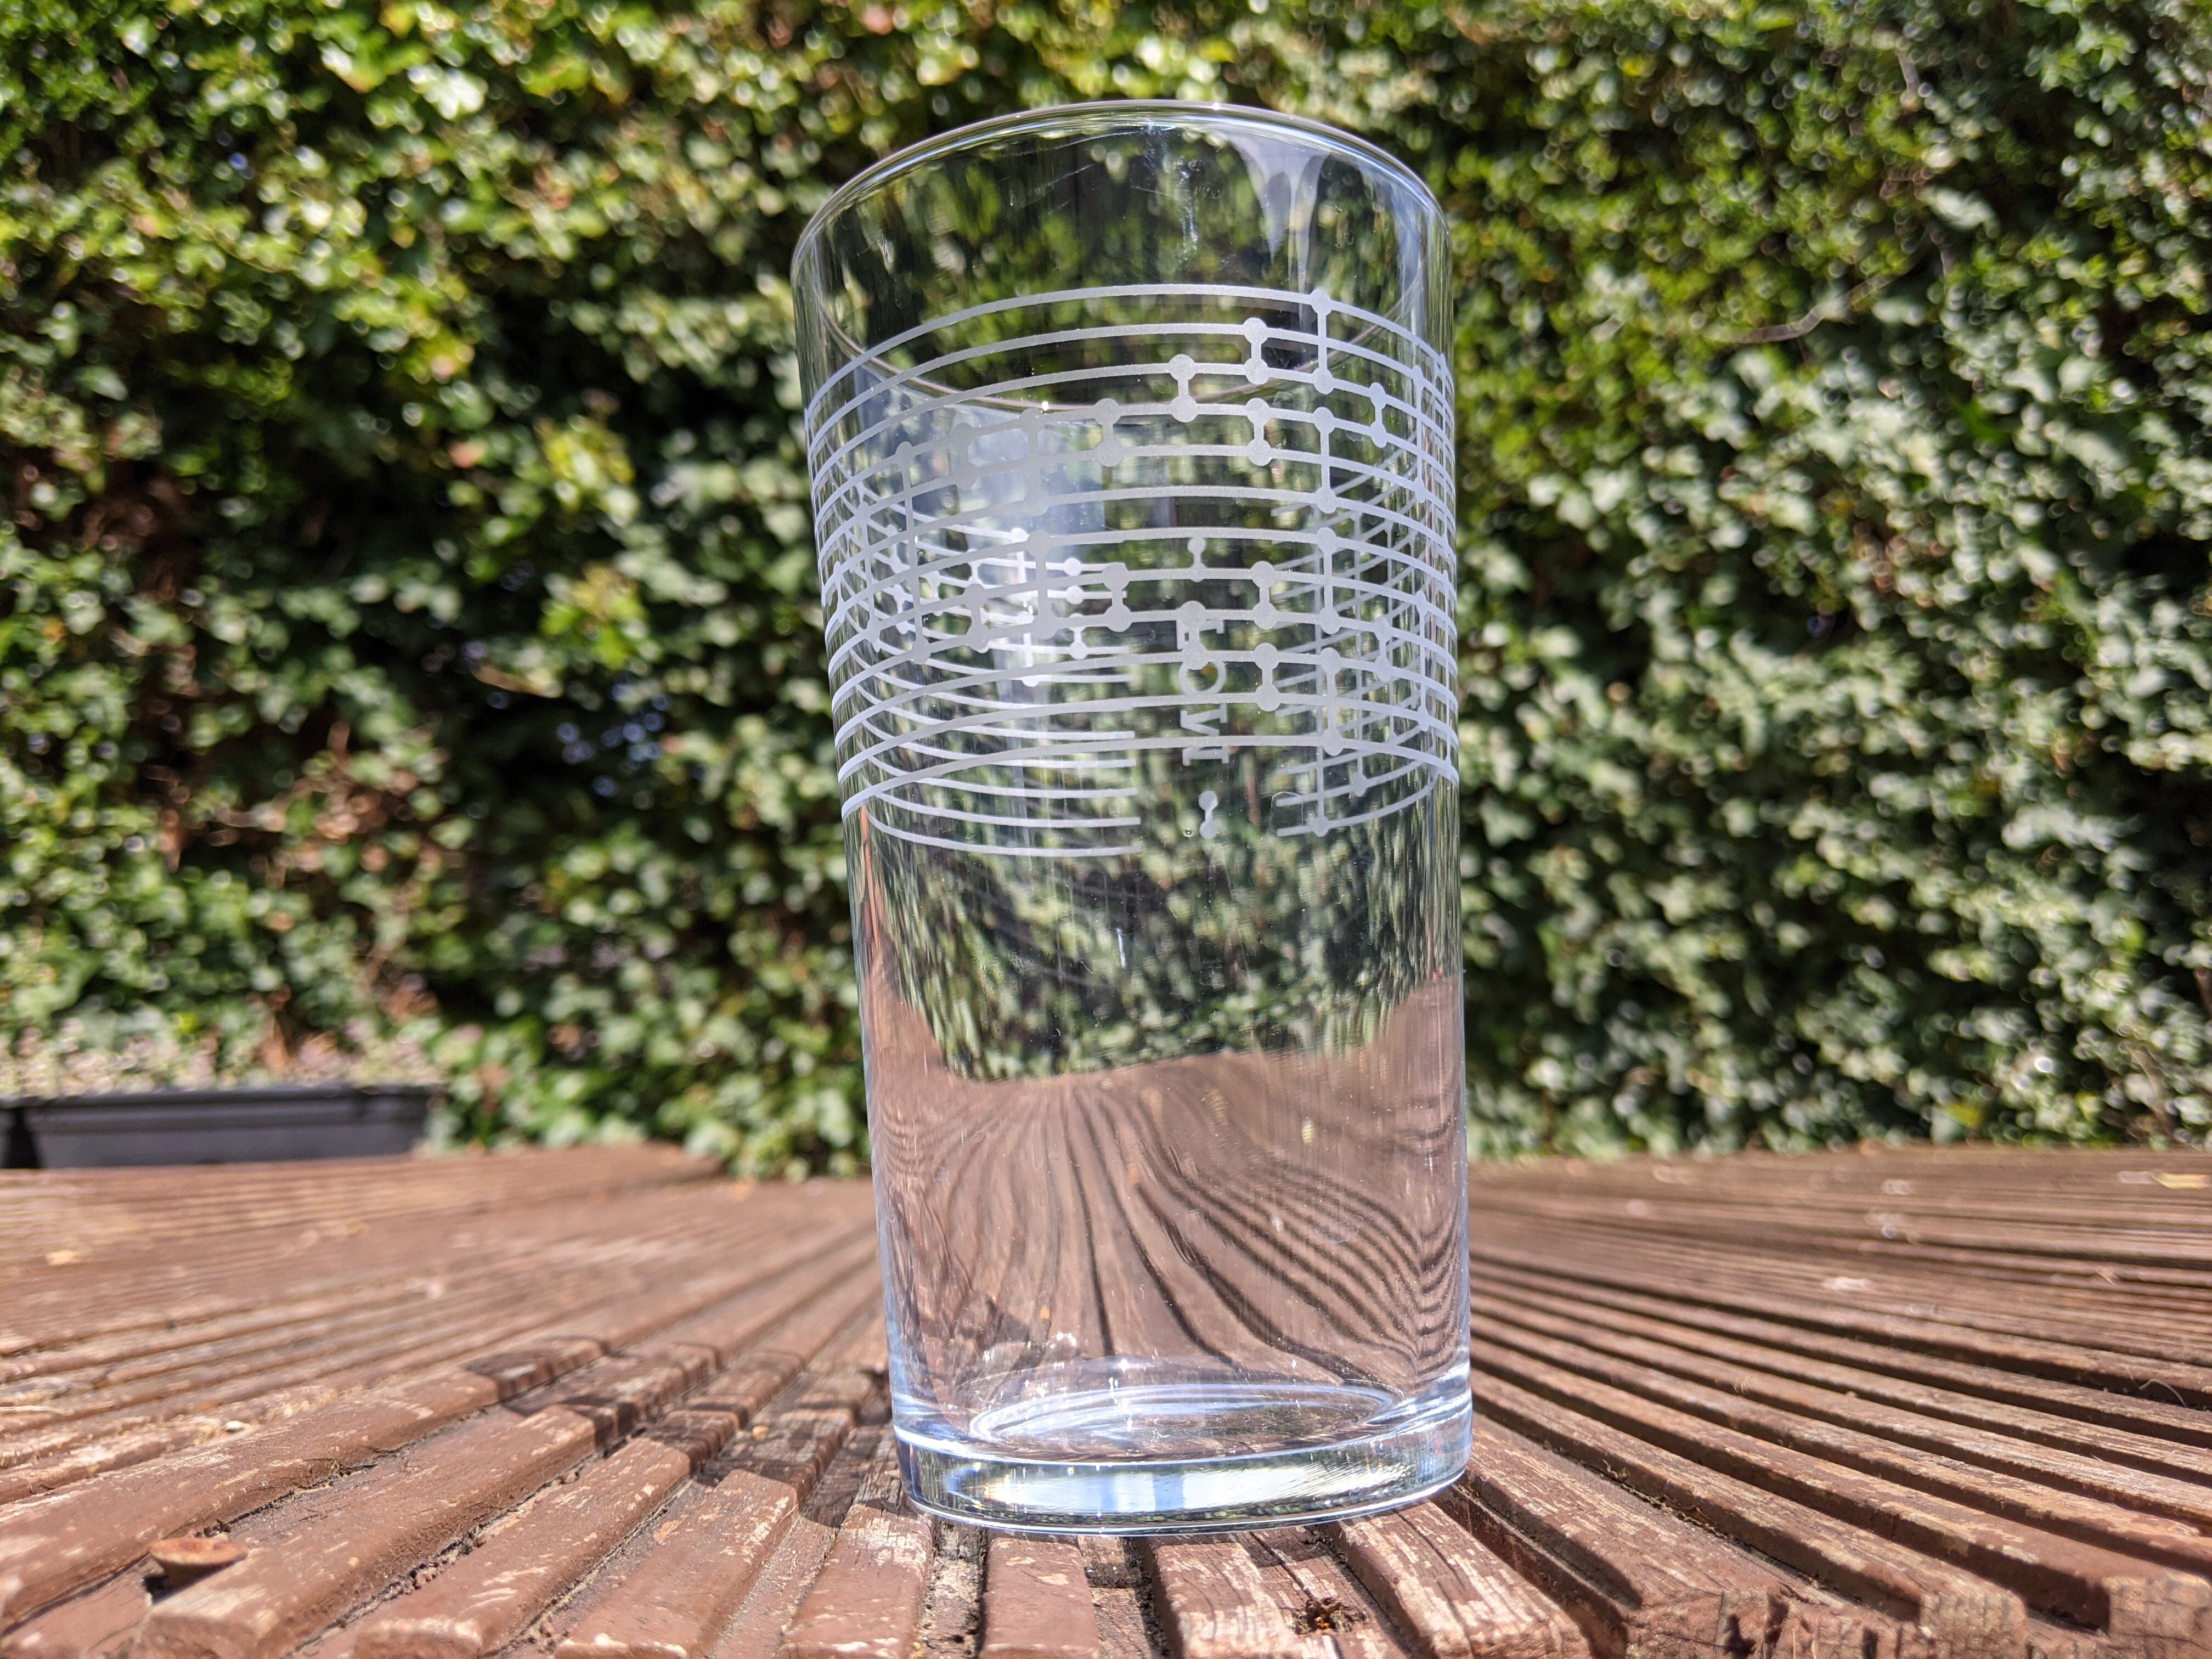
Drink
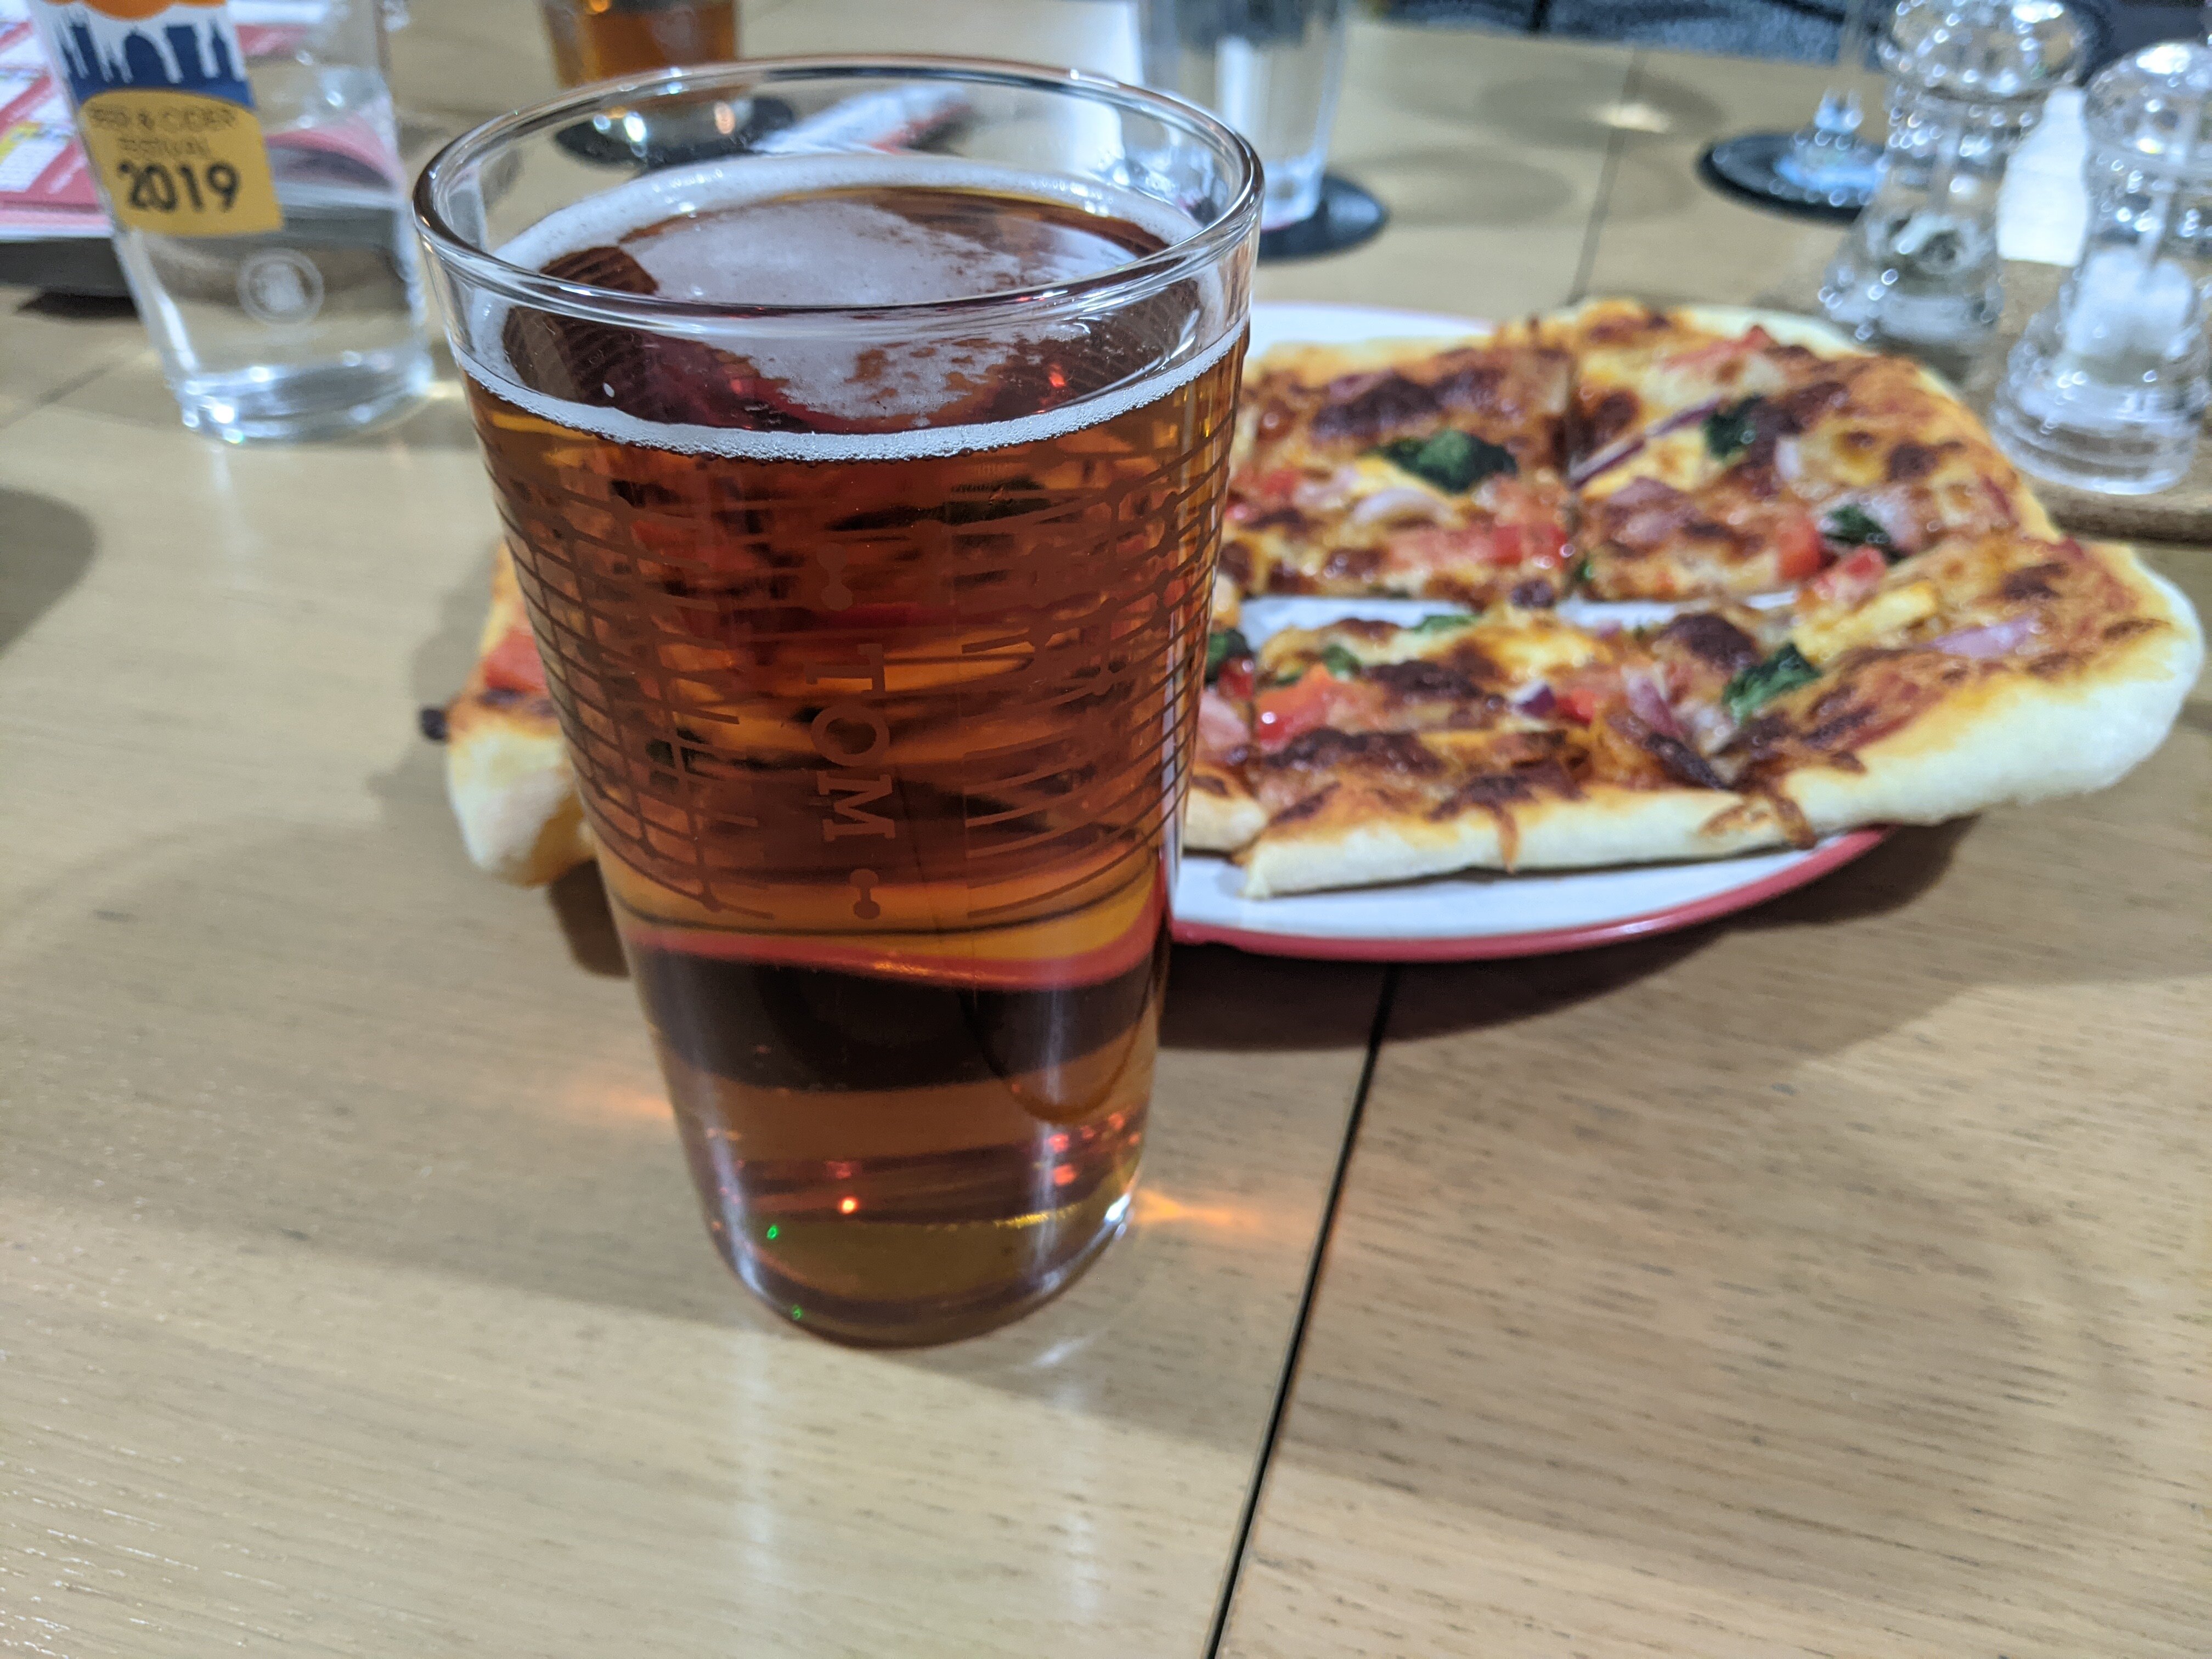
The glass filled with a beer.
Other photos
